Dear All,
Today we are going to install n8n in our local window machine, so you have to follow step by step instruction given in this installation guide.
STEP 1: Install Node JS
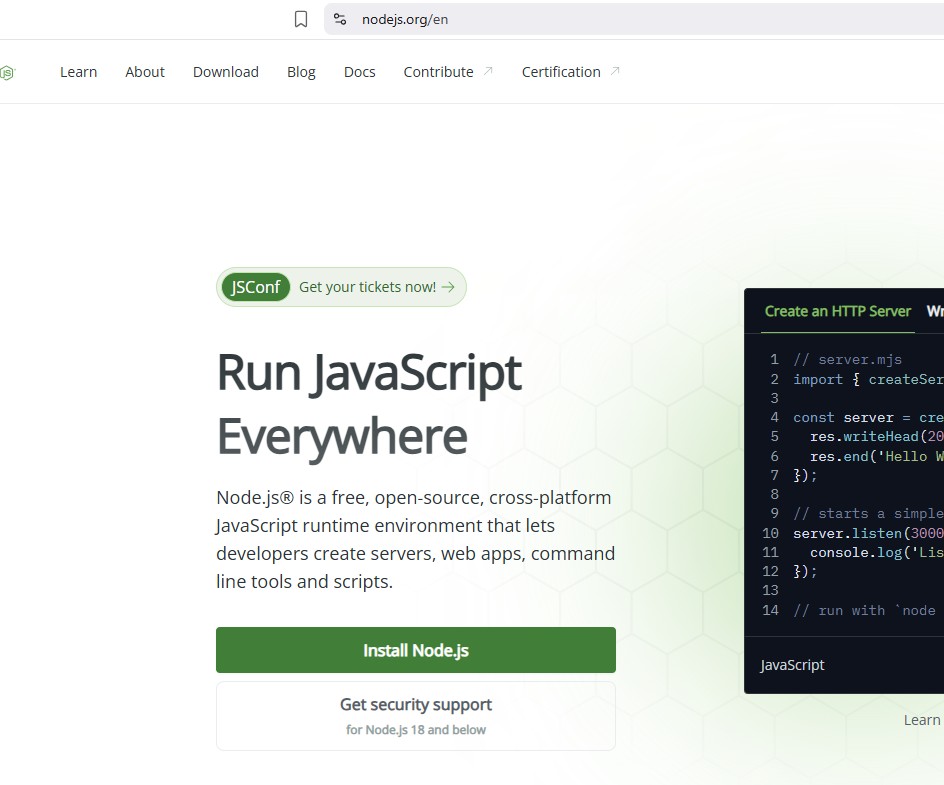
In order to install Node JS in our window machine, kindly download node.js in your computer
Go to https://nodejs.org/en
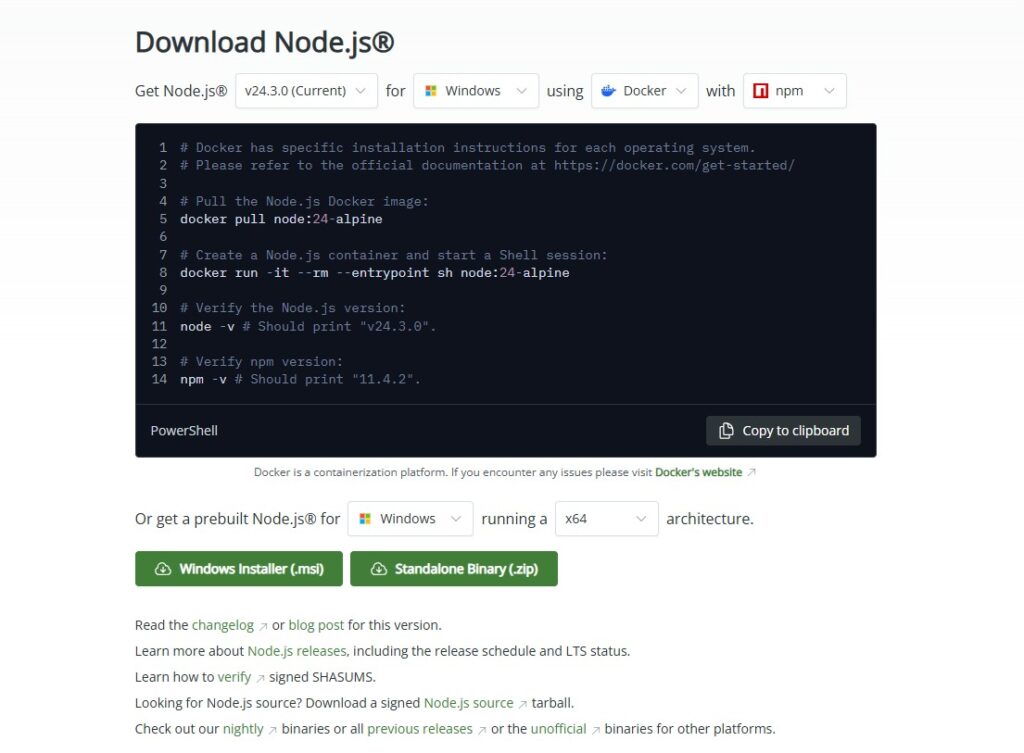
click on Windows Installer (,msi) button to download, once download start installing…for that follow the steps
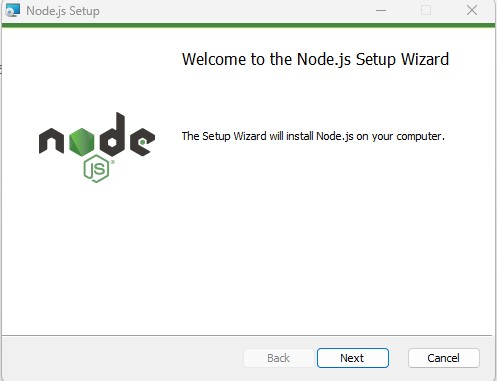
Click on next button
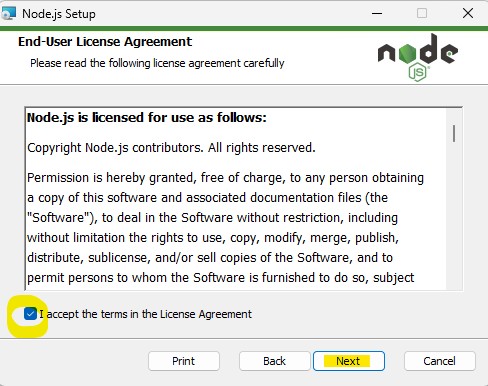
Click on Next button

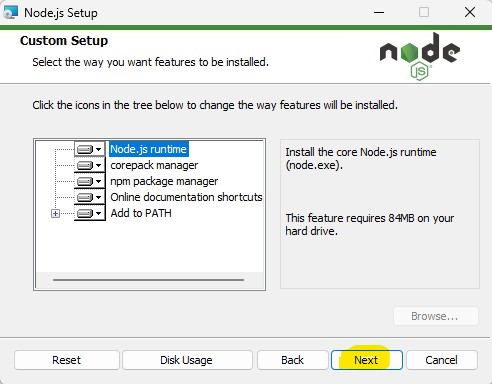
Click on Next button
Click on Next button
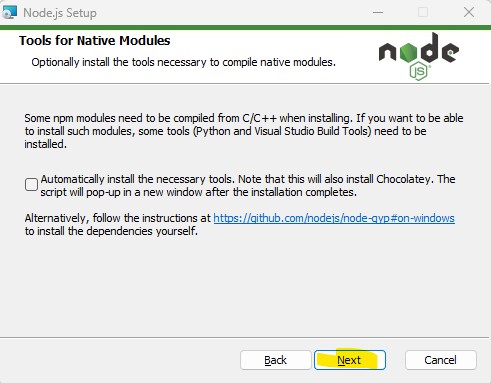
Click on Next button
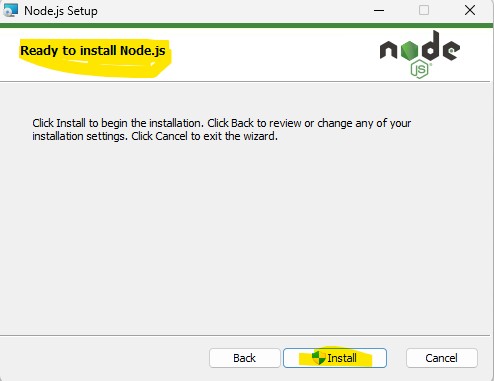
Click on Install button
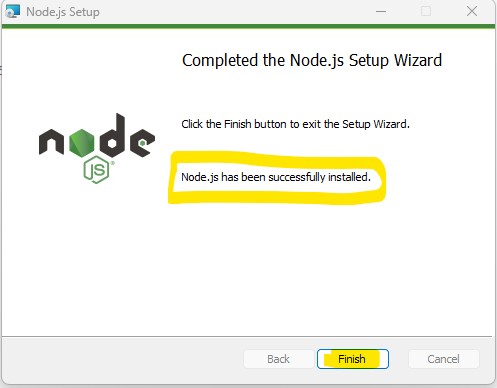
Click on Finish button… Node JS installed in your PC
Once installation completed, open the command prompt, by pressing Window + r
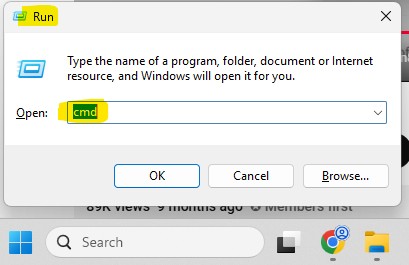
type cmd and press ok button, it will open the window command prompt (which is black command line interface),
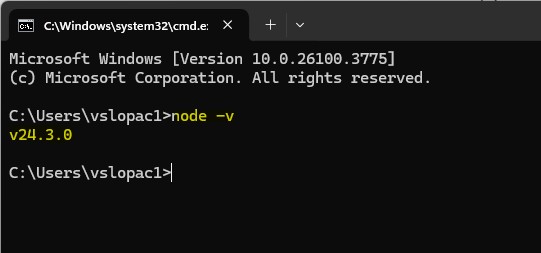
Enter node -v : It will display the node js version you just installed in your PC
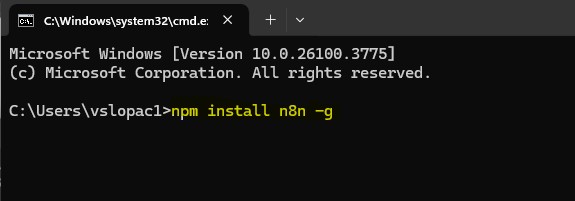
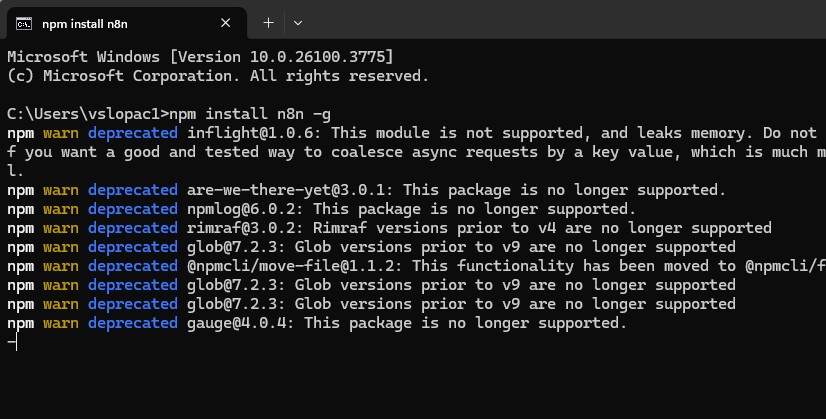
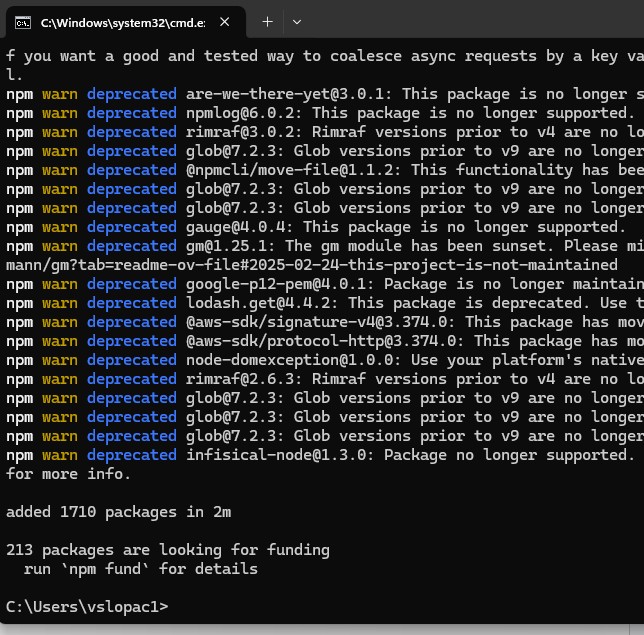
Now let’s install n8n: for that type npm install n8n -g and press enter (it will take sometime to install n8n)
After installation, you can start n8n by simply typing n8n or n8n start, you wil get the following screen
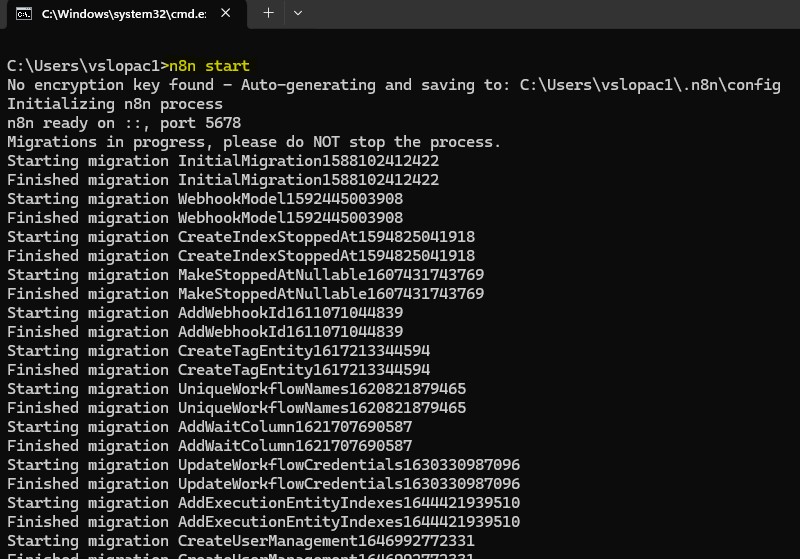
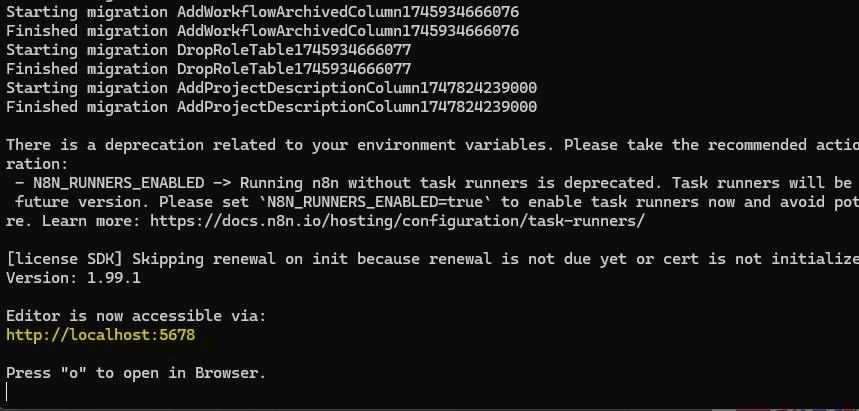
After installation you can see the message like Editor is now accessible via http://localhost:5678
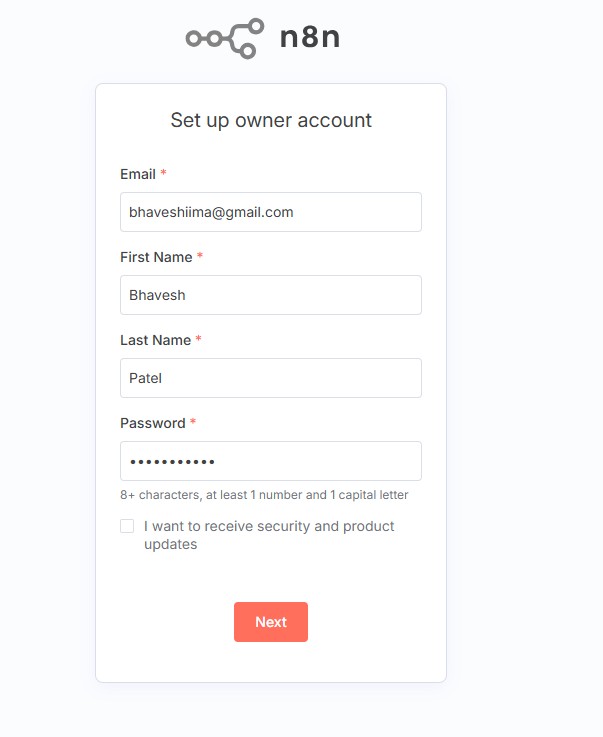
Open the browser and copy that localhost URL, first you will need to setup your owner account
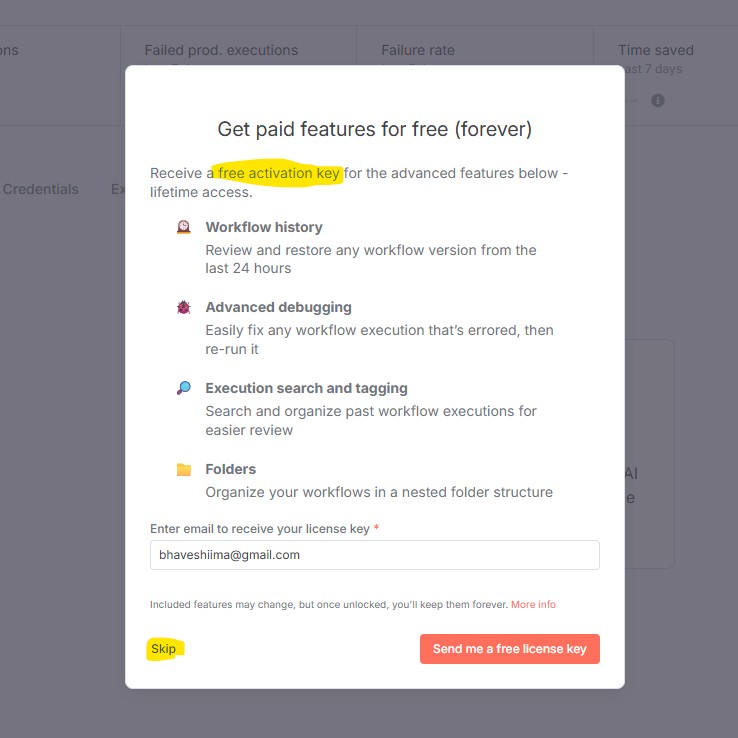
Once you click on Send me a free license key, you will received an email with key
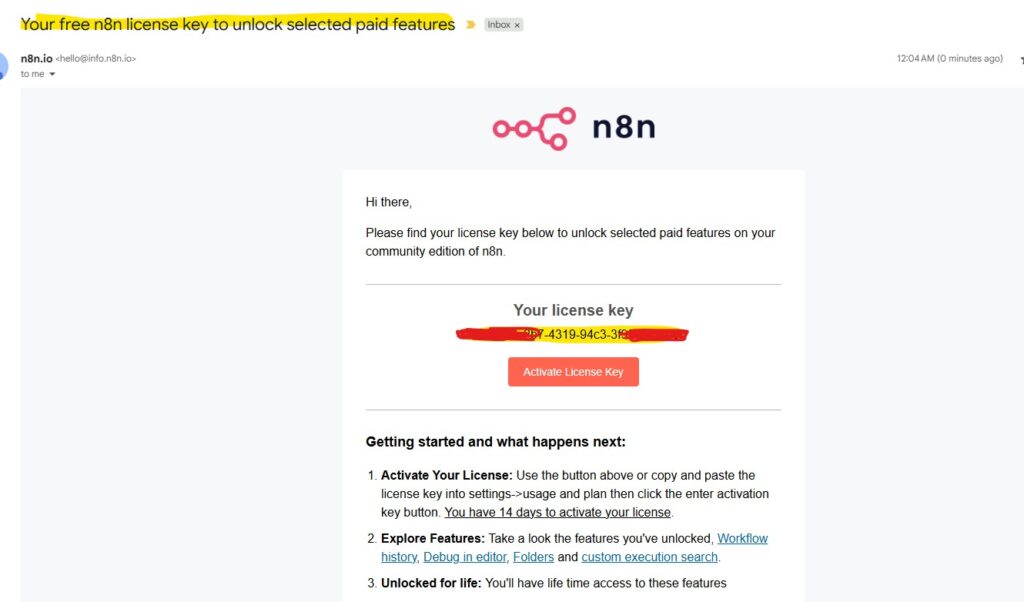
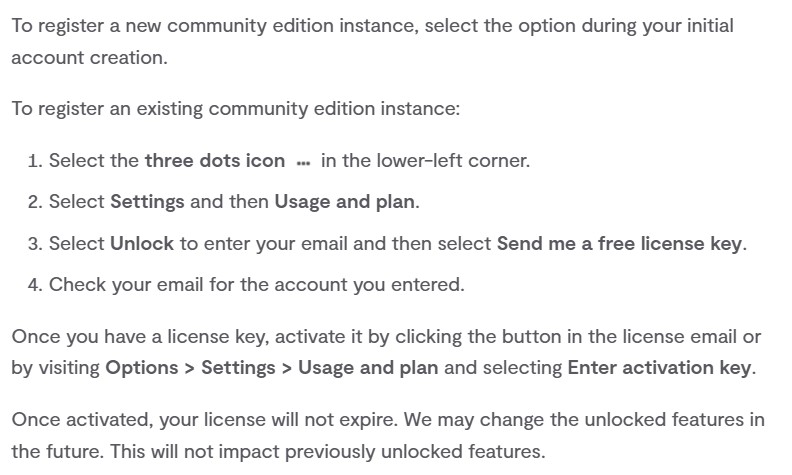
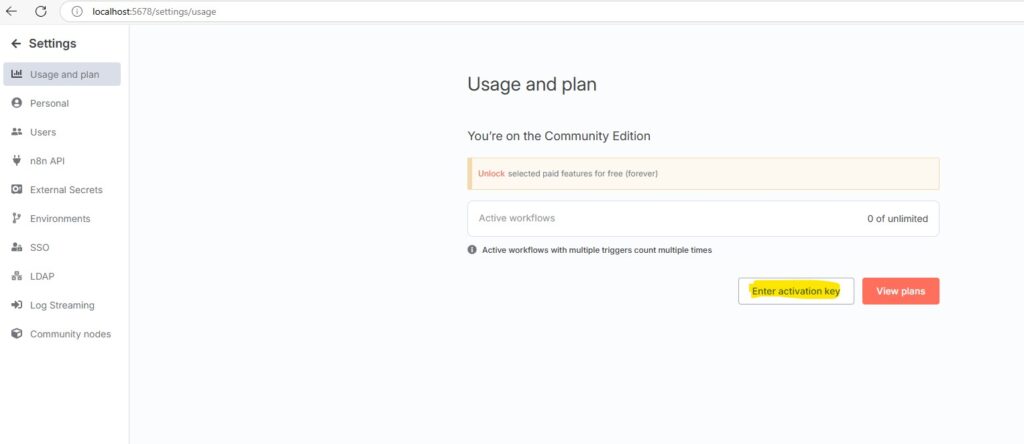
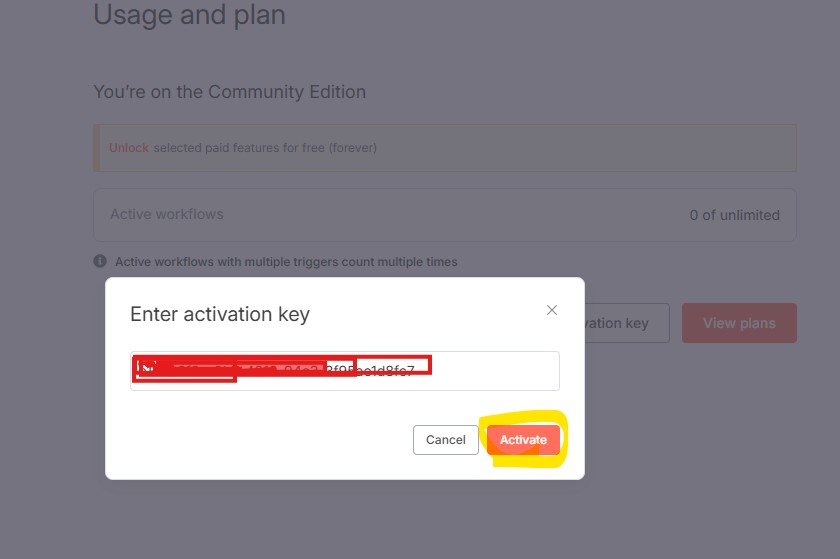
To enter key, you need to click on setting and click on Usage and plan then click on Enter activation key (which you received in the email), then click on Activate button, your n8n workflow is now activated.
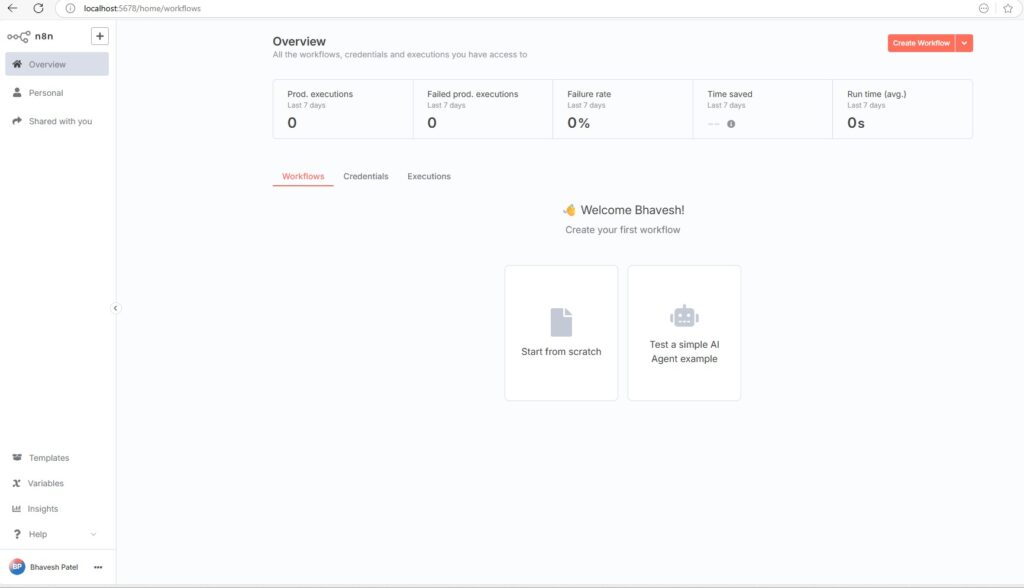
n8n home page(overview) from where you can start working on it…
In the next blog post we will learn about n8n and their basic features. so stay tune…