Hi All, hope you are doing great, I am excited that, with the help of Sudhanshu sir I have install OpenAI released OSS model (gpt-oss-20b) on the NVIDIA H100 GPU server on the Hyperstack Cloud Platform, so in this post I am sharing step by step guide with some resource (to read more) that will help you in case of you want to install power full LLM model locally.
So, we will follow some step by step process like
Step 1: Create Virtual Machine (having NVIDIA H100 GPU)
Step 2: Install vLLM and then deploy the gpt-oss-20b LLM model
Step 3: Connecting those server and use that Model in our application
So before stating let’s understand what is gpt-oss model? Recently, OpenAI released two OSS LLM models:
- gpt-oss-120b: Most powerful open-weight model (https://platform.openai.com/docs/models/gpt-oss-120b)
2. gpt-oss-20b: Medium-sized open-weight model for low latency
(https://platform.openai.com/docs/models/gpt-oss-20b)
Key features of gpt-oss models:
It’s an open-source model, which means we can deploy it freely to our personal virtual server without any copyright restrictions
This model has good Reasoning ability and fully customizable models for fine-tuning.
This model also has Agentic capabilities, which include function calling, web browsing, Python code execution, and structured outputs.
Why Self-Host LLM Model???
Cost Efficiency:
- API calls (e.g., to OpenAI, Anthropic) are pay-per-token.
- If a company serves millions of requests daily, API bills can be huge.
Data Privacy & Compliance:
- Some industries (finance, healthcare, government, defence, space) cannot send sensitive data to an external API.
- Hosting the model internally ensures data stays inside the company’s network and premise.
Customisation & Fine-tuning:
- APIs like GPT-4 or 5 are general-purpose.
- Companies often need domain-specific tuning (legal, medical, retail).
- Fine-tune with private datasets,
- Add retrieval-augmented generation (RAG) from internal docs.
Latency & Availability:
- API calls = request goes over the internet to the provider website and then back.
- Self-hosted = model runs on the same network or on-prem, so lower latency. Also avoids rate limits, API downtime, or quota exhaustion.
Flexibility & Vendor Independence
- If you rely only on an API key, you’re locked to one vendor’s pricing, rate limits, and features.
- Flexibility to switch between different OSS models (Mistral, LLaMA-3, Falcon, etc.).
Regulatory at the country level:
- Some governments require data to stay within the country.
Companies deploy LLMs on their own servers when they want lower cost, higher privacy, customisation, and independence. But they can use API keys (OpenAI, Anthropic, Google Gemini) when they want convenience and top model quality without managing infra.
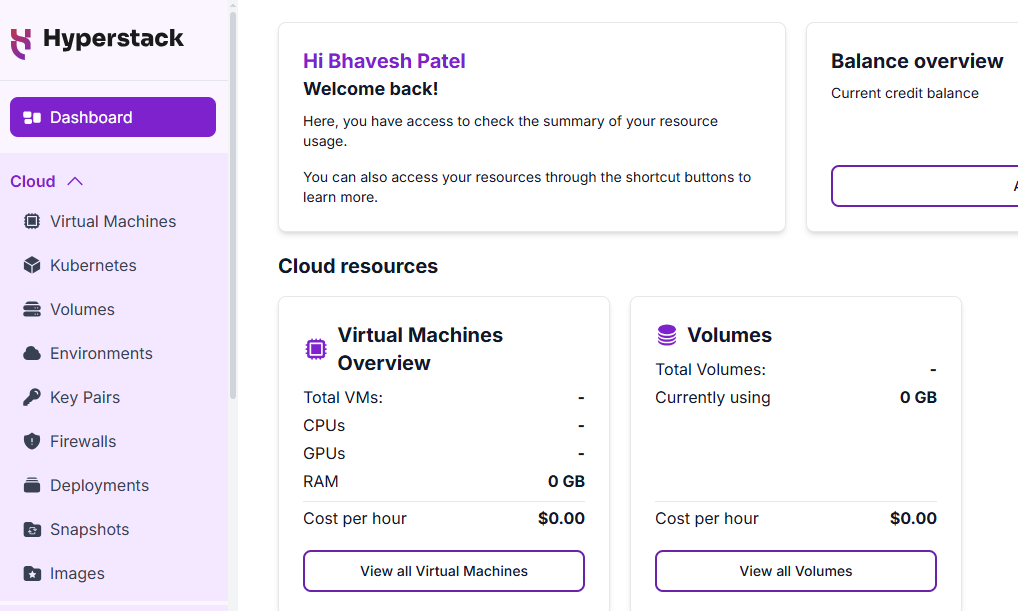
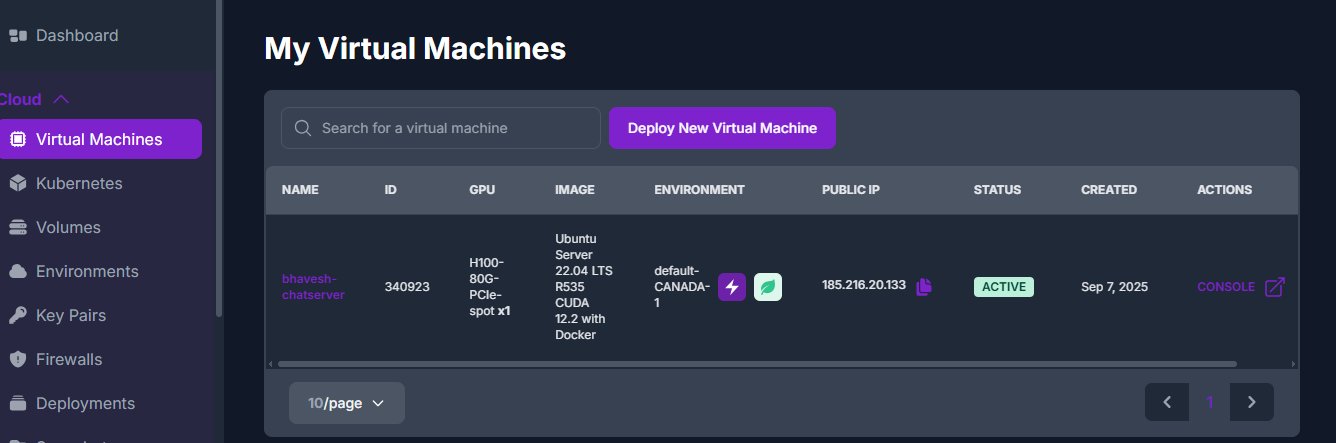
Step 1: Create Virtual Machine (having NVIDIA H100 GPU)
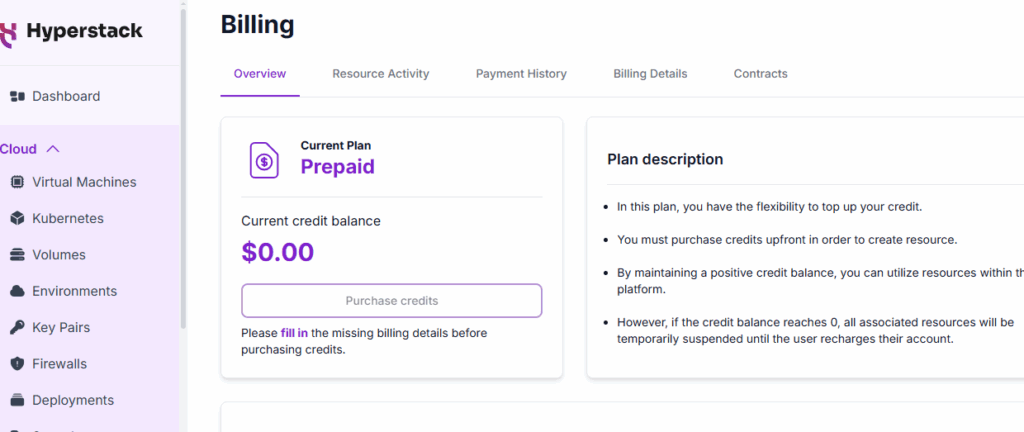
Go to: https://www.hyperstack.cloud/
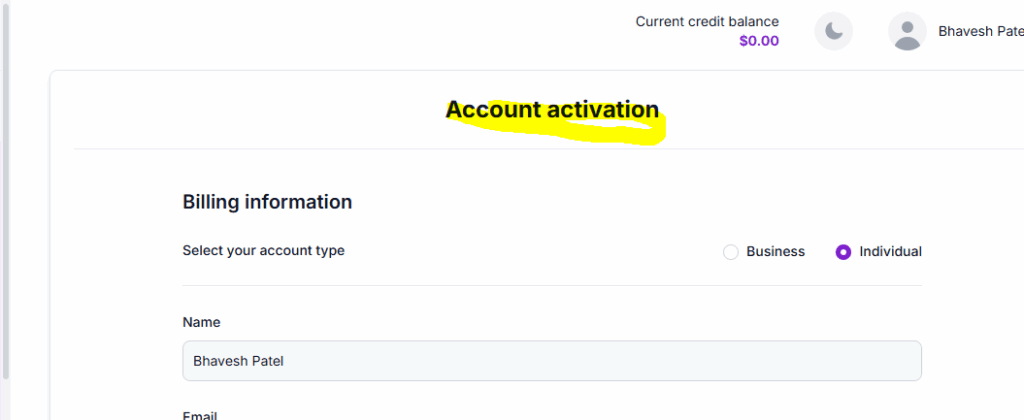
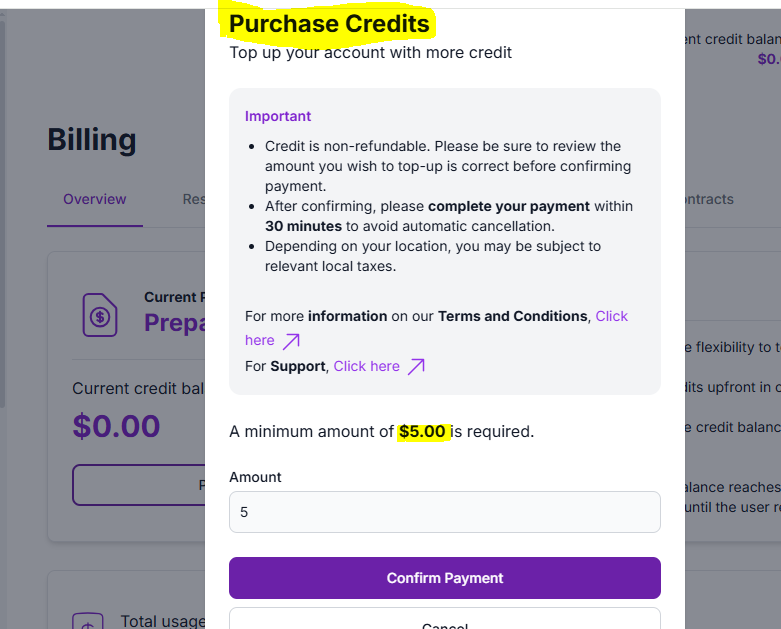
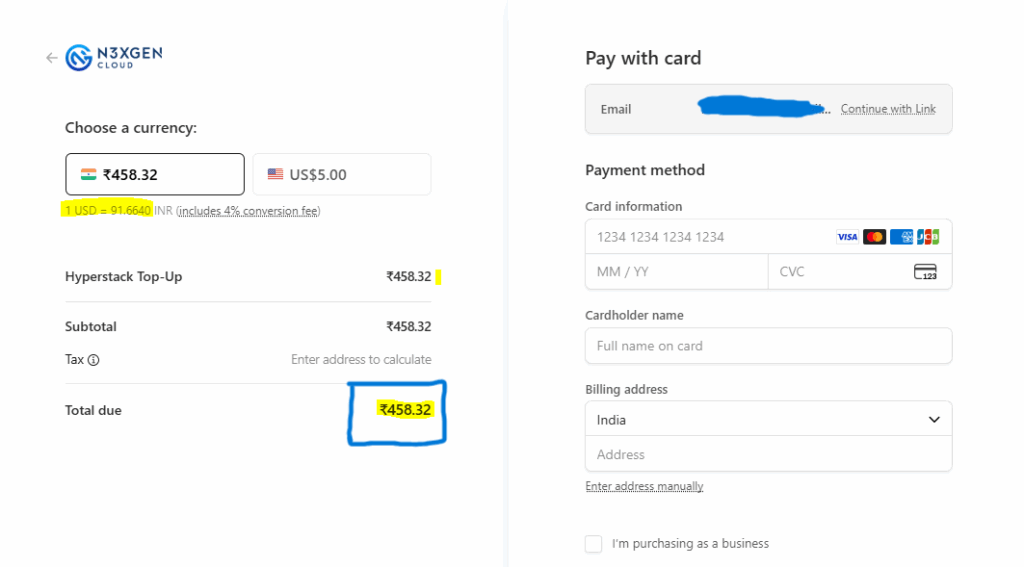
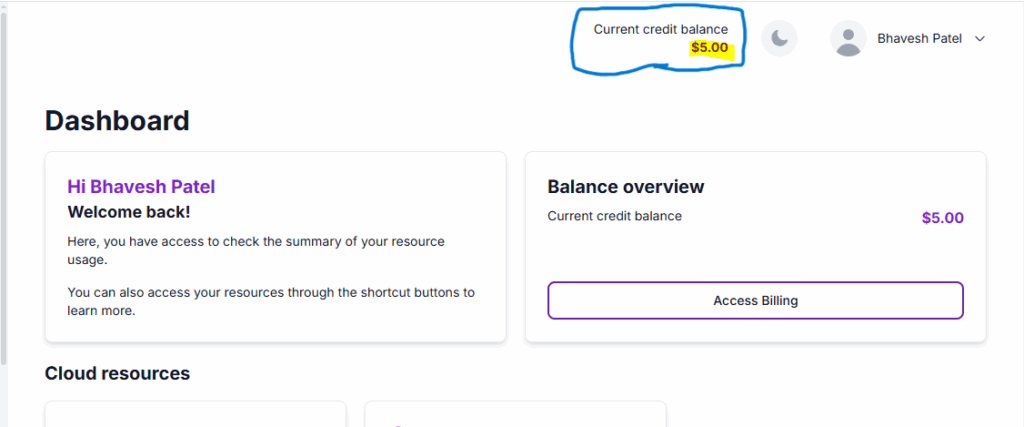
Sign up or login and add some credit to create a VM

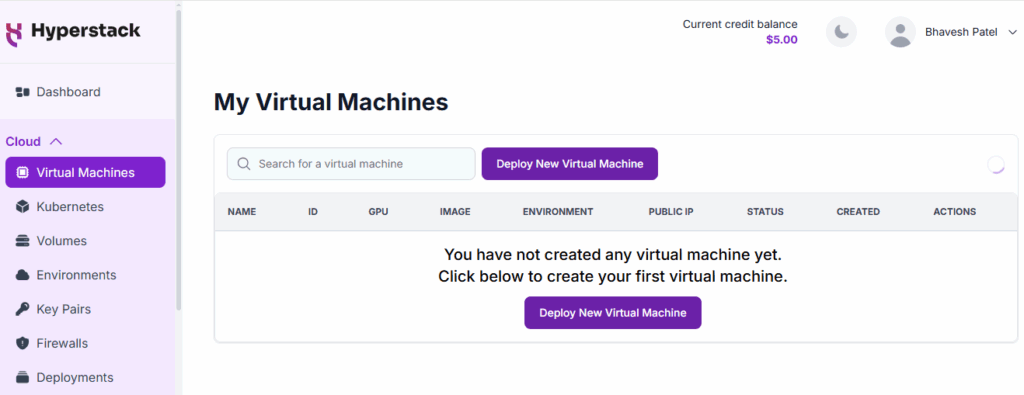
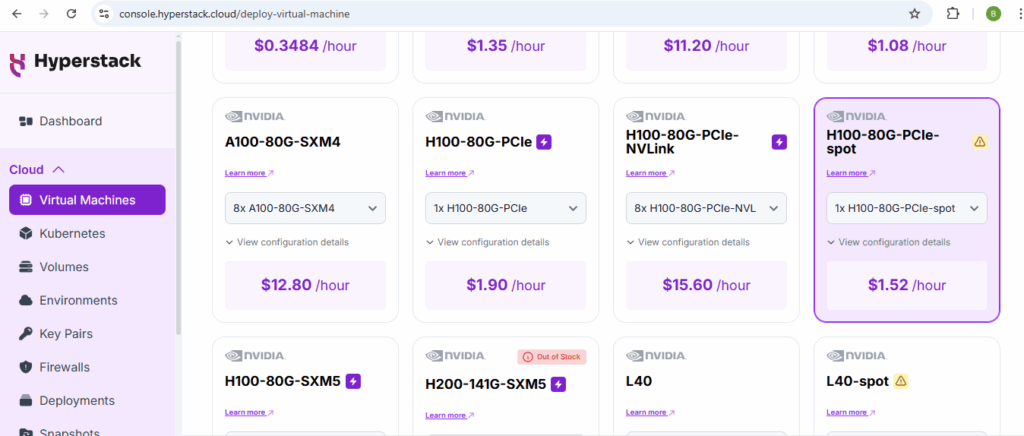
STEPS to create a Virtual Machine:
1. GPU Flavour: Select the GPU and hardware configuration for your VM (NVIDIA H100)
2. Environment (Location): Choose the environment where your virtual machine will be deployed.
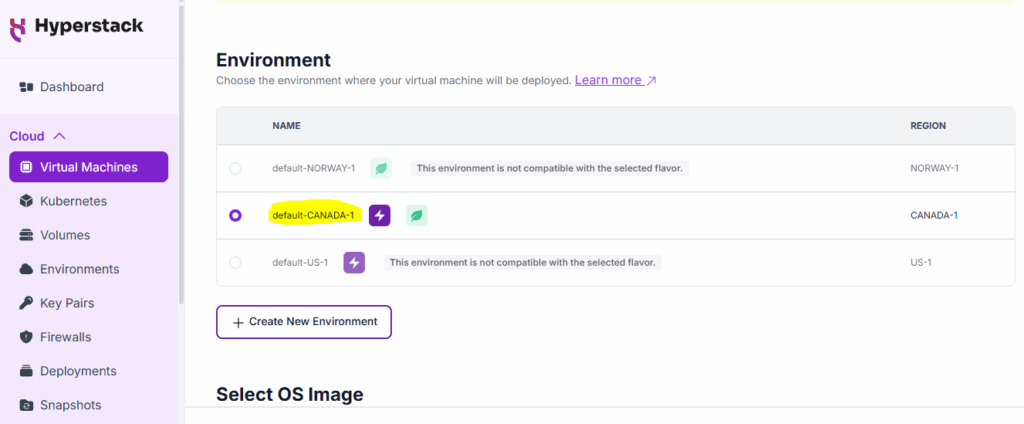
Currently, it provides 3 places: CANADA, NORWAY, and the US.
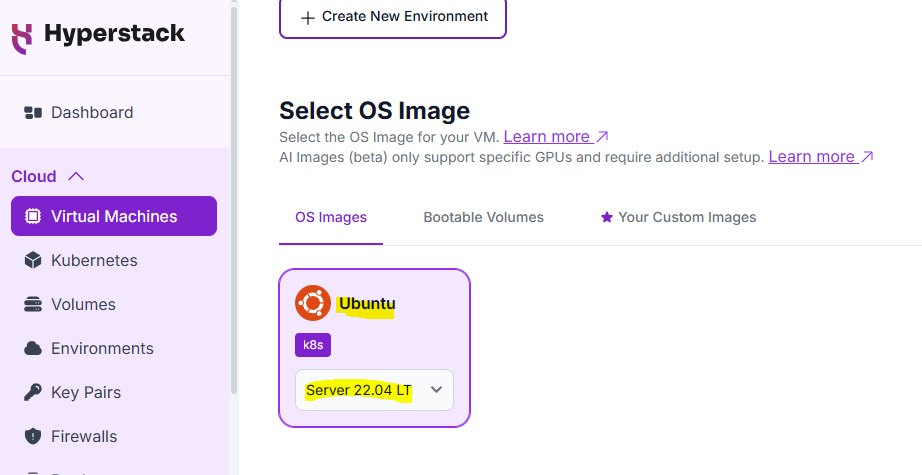
3. OS Image: Select the OS Image for your VM.
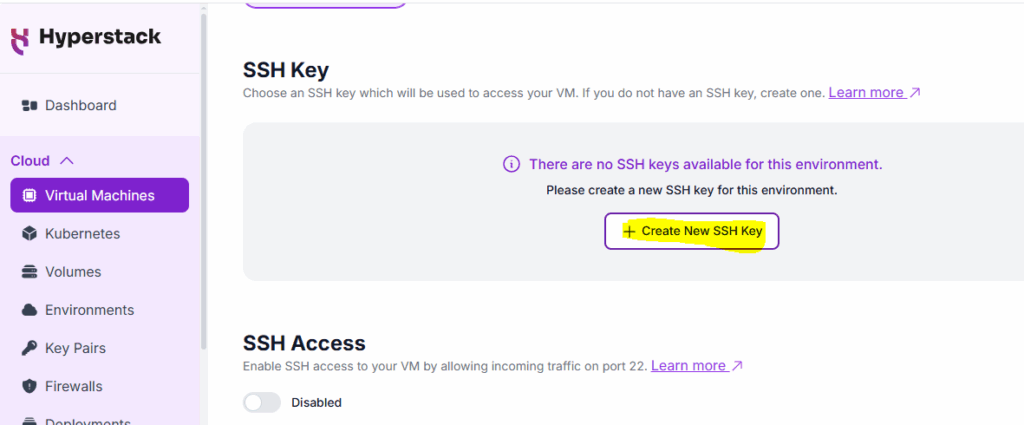
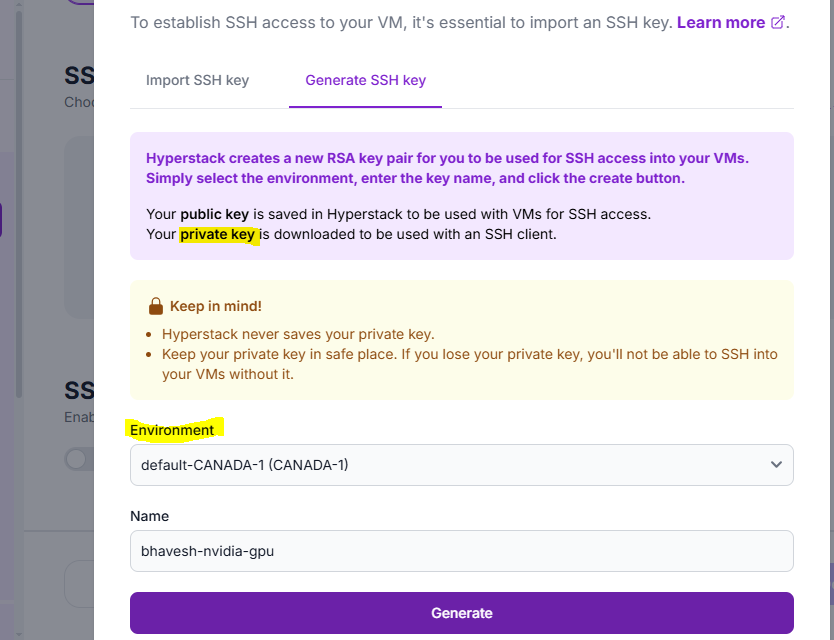
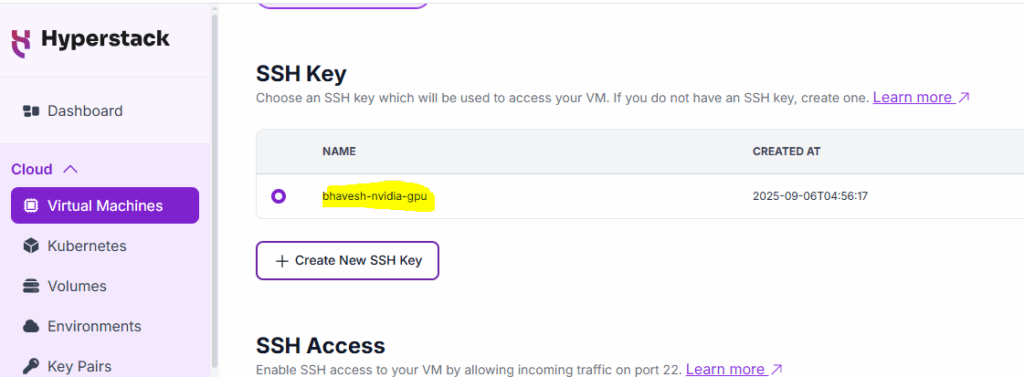
4. SSH Key: Choose an SSH key which will be used to access your VM.
Private Key (which you need to download)
Public Key (which is with the cloud platform)
PuTTYgen: To generate Public Key and Private Key
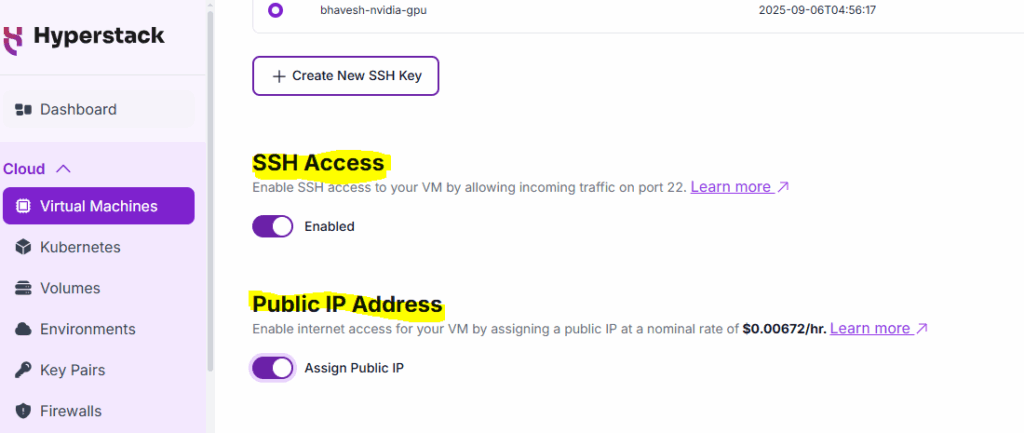
5. Public IP Address: Enable internet access for your VM by assigning a public IP (include additional costing) – later, we can map this IP with your custom domain
6. Number of VMs to deploy: Specify how many VMs you want to deploy.
Advanced configuration:
1. Virtual Machine Name: The VM’s name is auto-generated, but you can customize it if you want…
2. Callback URL: Attach a callback/webhook to receive action updates on your VM.
3. Install Jupyter Notebook: Install Jupyter Notebook on your virtual machine (VM), making it accessible through port 8888. Ensure that a public IP is assigned for access
4. Cloud-init Script: Initialise your VM by providing first-boot configuration with cloud-init.
5. Firewall Rules: Add firewall rules to your virtual machine to control traffic
Inbound Rules: Allow the outside world to communicate with the VM.
Outbound Rules: Allow VM to communicate with the outside world.
6. Provisioning profiles: Save this VM’s configuration as a template for future deployments
Once everything is perfect, click on Deploy
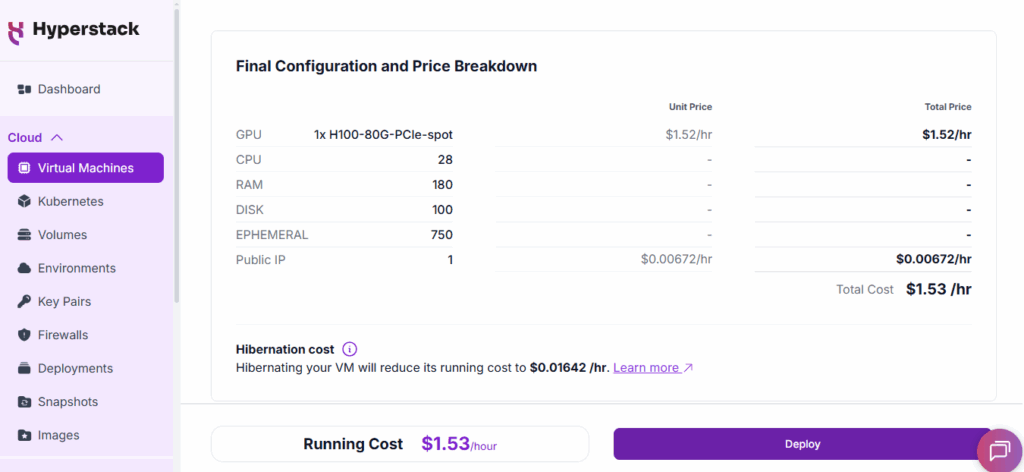
VM Configuration:
1 – H100 GPU | 28: CPUs | 180 GB: RAM | 100 GB: Disk |
750 GB: Ephemeral (temporary – non-persistent local storage used for buffering or caching for compute instances)
Step 2: Install vLLM and then deploy the gpt-oss-20b LLM model
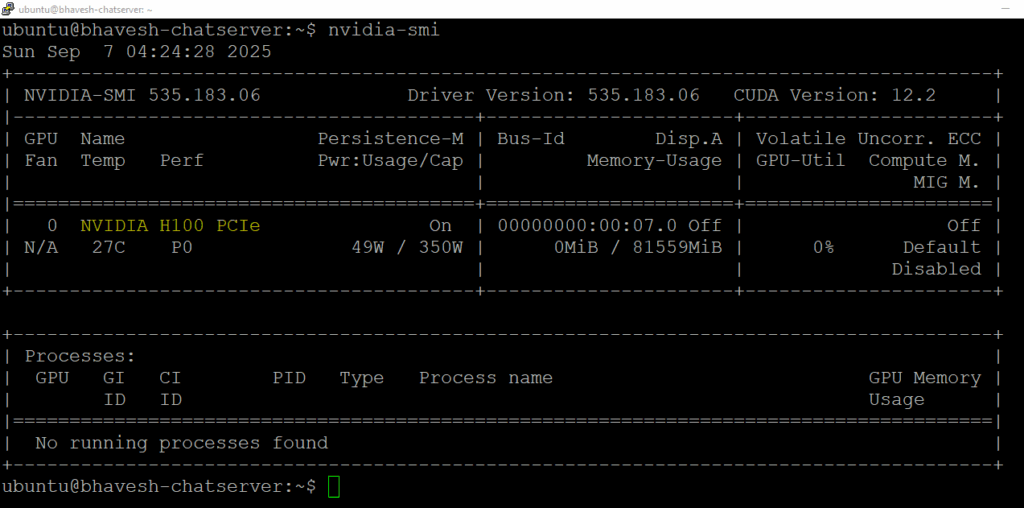
to check the NVIDIA Configuraion: nvidia-smi
# Add the repository (#apt – advanced package tool)
sudo add-apt-repository ppa:deadsnakes/ppa -y
# Update the system
sudo apt update
# Install Python
sudo apt install python3.12 python3.12-venv python3.12-dev -y
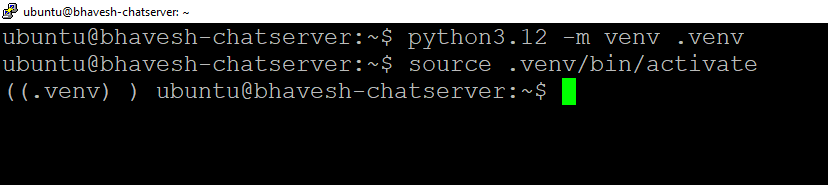
# Create environment
python3.12 -m venv .venv
# Activate it
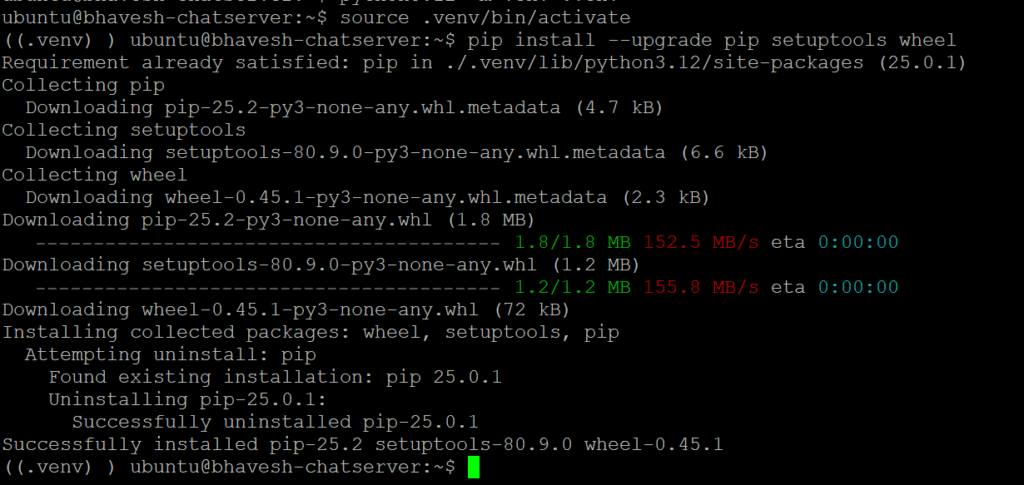
source .venv/bin/activate
# setup & upgrade package/library that will be required to install vLLM
pip install –upgrade pip setuptools wheel
pip: a tool for installing Python packages. (https://pypi.org/project/pip/)
setuptools: Easily download, build, install, upgrade, and uninstall Python packages (https://pypi.org/project/setuptools/)
wheel: A built-package format for Python (https://pypi.org/project/wheel/)
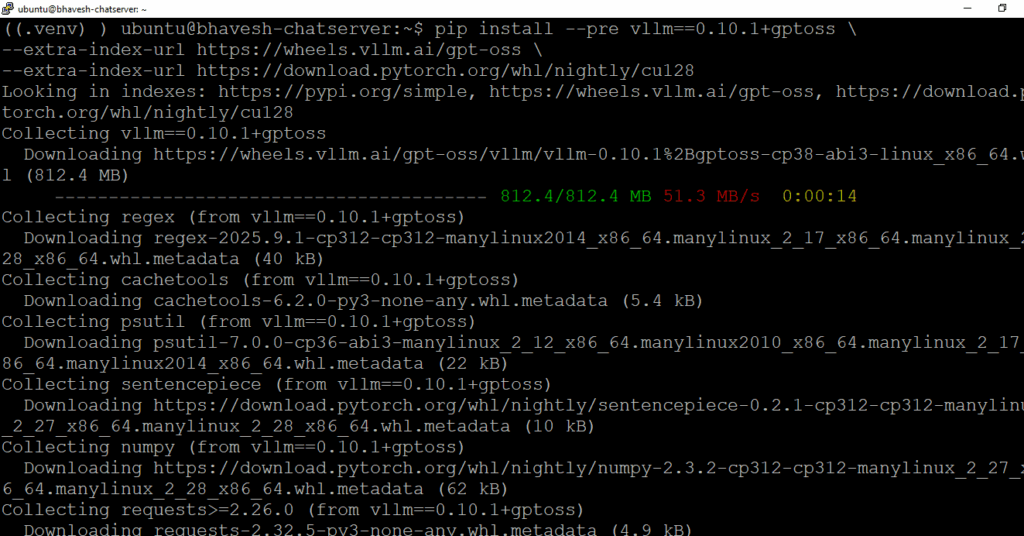
# install vLLM
pip install –pre vllm==0.10.1+gptoss \
–extra-index-url https://wheels.vllm.ai/gpt-oss \
–extra-index-url https://download.pytorch.org/whl/nightly/cu128
# Enable LLM to serve the request:
———————————–
vllm serve openai/gpt-oss-20b \
–port 8000 \
–gpu-memory-utilization 0.9 \
–max-model-len 8192

(https://docs.vllm.ai/projects/recipes/en/latest/OpenAI/GPT-OSS.html#launch-the-vllm-server)
#Watch command (to see the CPU usages)
watch -n 1 nvidia-smi
The NVIDIA System Management Interface (nvidia-smi) is a command-line utility for monitoring NVIDIA GPU devices.
(https://developer.nvidia.com/system-management-interface)
Step 3: Connecting those server and use that Model in our application
API Endpoint:
http://{PUBLIC_IP}:8000/v1/chat/completions
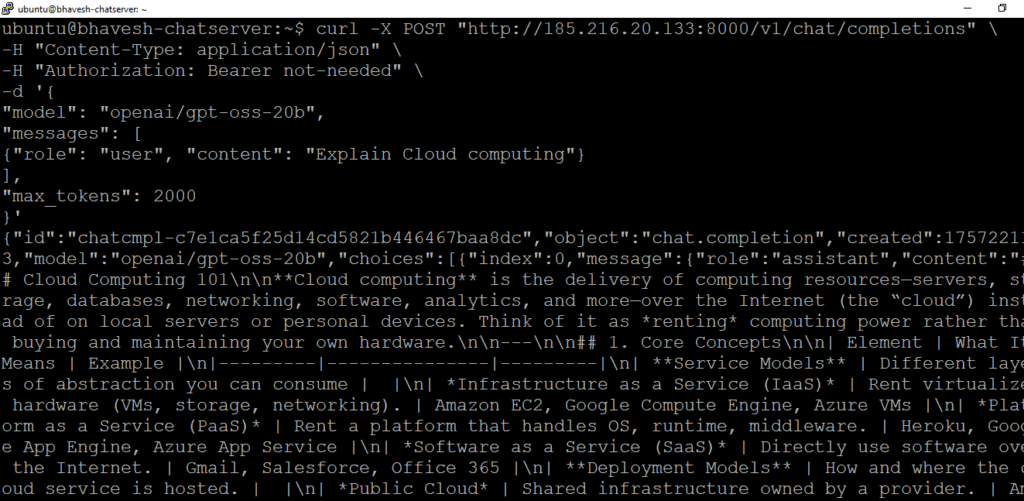
cURL Code to test that model:
curl -X POST “http://{PUBLIC_IP}:8000/v1/chat/completions” \
-H “Content-Type: application/json” \
-H “Authorization: Bearer not-needed” \
-d ‘{
“model”: “openai/gpt-oss-20b”,
“messages”: [
{“role”: “user”, “content”: “Explain Cloud computing”}
],
“max_tokens”: 2000
}’
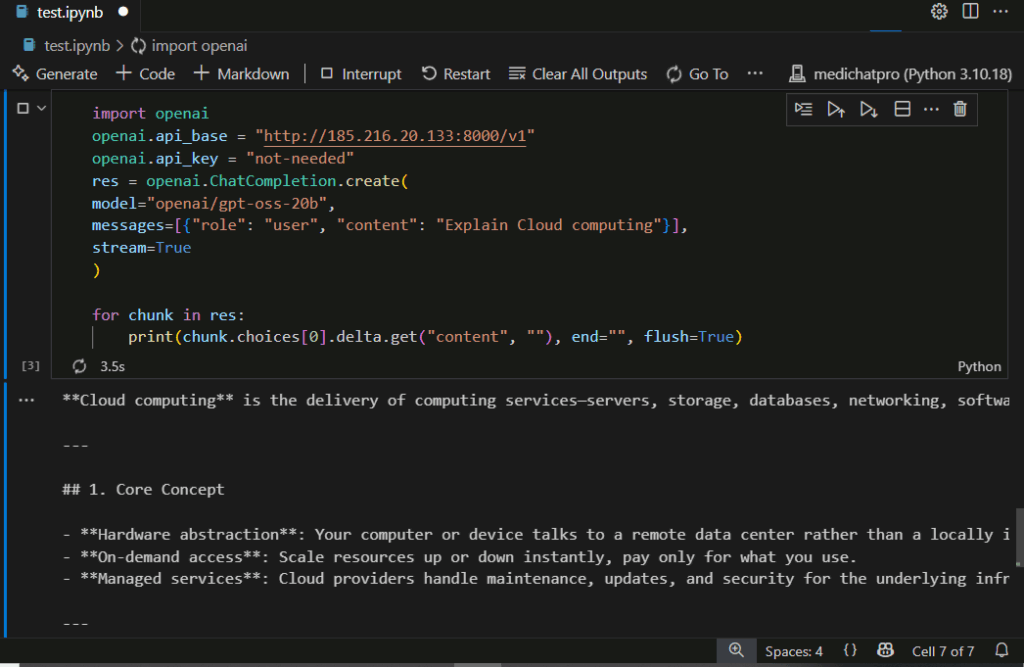
in python:
pip install openai #import
import openai
openai.api_base = “http://{PUBLIC_IP}:8000/v1”
openai.api_key = “not-needed”
res = openai.ChatCompletion.create(
model=”openai/gpt-oss-20b”,
messages=[{“role”: “user”, “content”: “Explain Cloud computing”}],
stream=True
)
for chunk in res:
print(chunk.choices[0].delta.get(“content”, “”), end=””, flush=True)
Reference:
https://cookbook.openai.com/articles/gpt-oss/run-vllm
https://openai.com/index/introducing-gpt-oss/
Youtube video: https://www.youtube.com/watch?v=fM6Qcxl9lY0