After completing XAMPP installation in Window OS, you need to download SubjectPlus form it’s official website.
SubjectPlus Download URL: https://github.com/subjectsplus/SubjectsPlus/releases
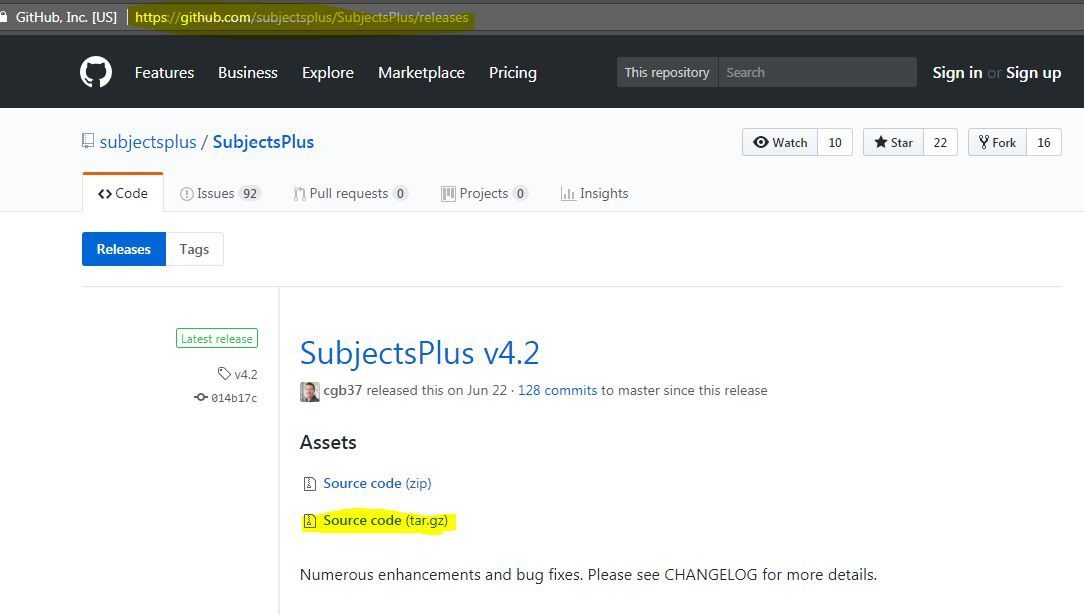
Download Source code into your terminal (Download folder)
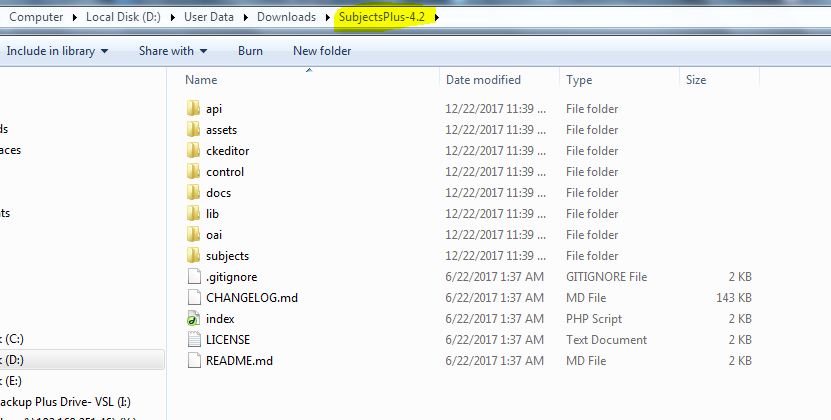
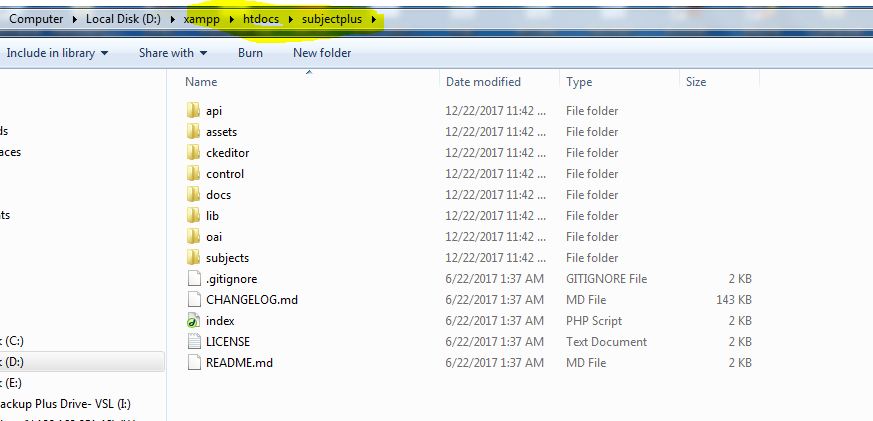
Now, Create new folder (name “subjectplus”) into your web server (i.e. /xampp/htdocs/subjectplus) and copy all files and folders from downloaded source to /xampp/htdocs/subjectplus/ folder, so it will look like below image.
Next, Create new database for subjectplus
Go to browser and type http://localhost/phpmyadmin/, you will redirect to following screen

Now into that create database name “subjectplus” and select UTF8-unicode-8 (that will support multiple language) as shown in image. Once you create database then you can see that there is no tables into this database (shown in below figure)

Further, Go to browser and type http://localhost/subjectplus/control/ you will see the following screen

Next >> click on Let’s make it link, It will redirect to following page
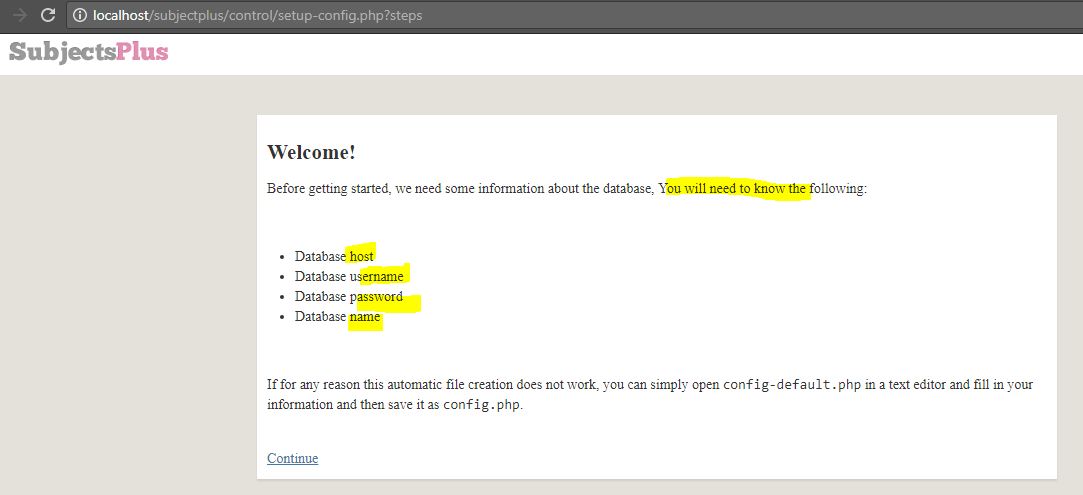
Click on Continue link, and enter the database Configurations like host name, username,password and database.
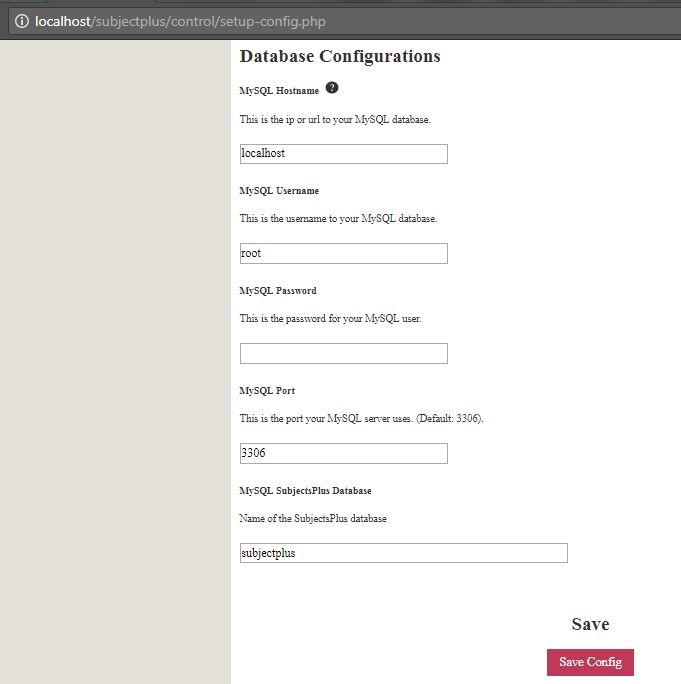
after fill-up the information click on Save Config button

Next to proceed to installation, click on Run the install button
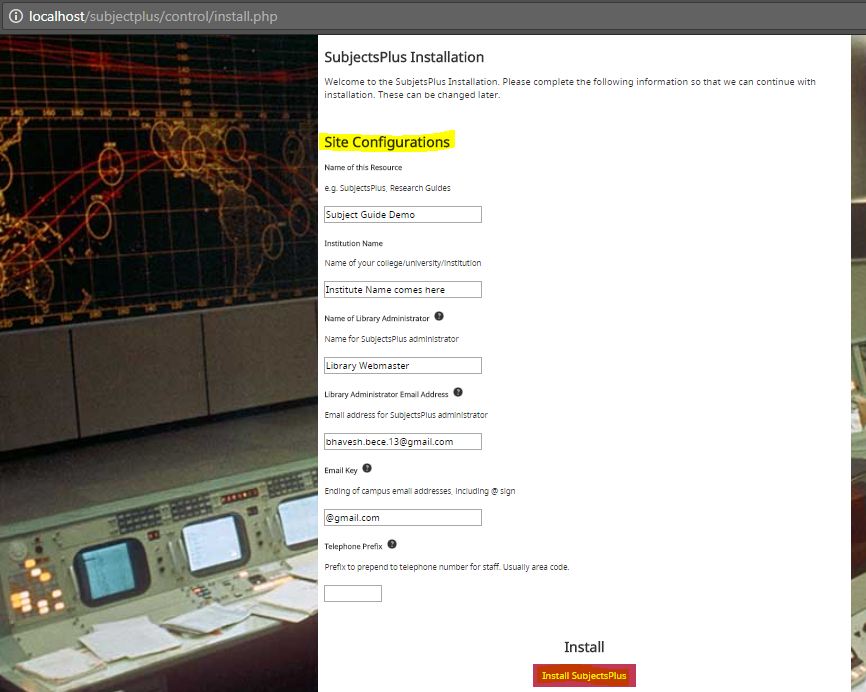
Next, click on Install SubjectPlus button to start the installation process
Wait for a while to complete the installation process

Your SubjectPlus installation is completed successfully, Make a note of Username and Password.
This login credentials is your SubjectPlus Administrator.
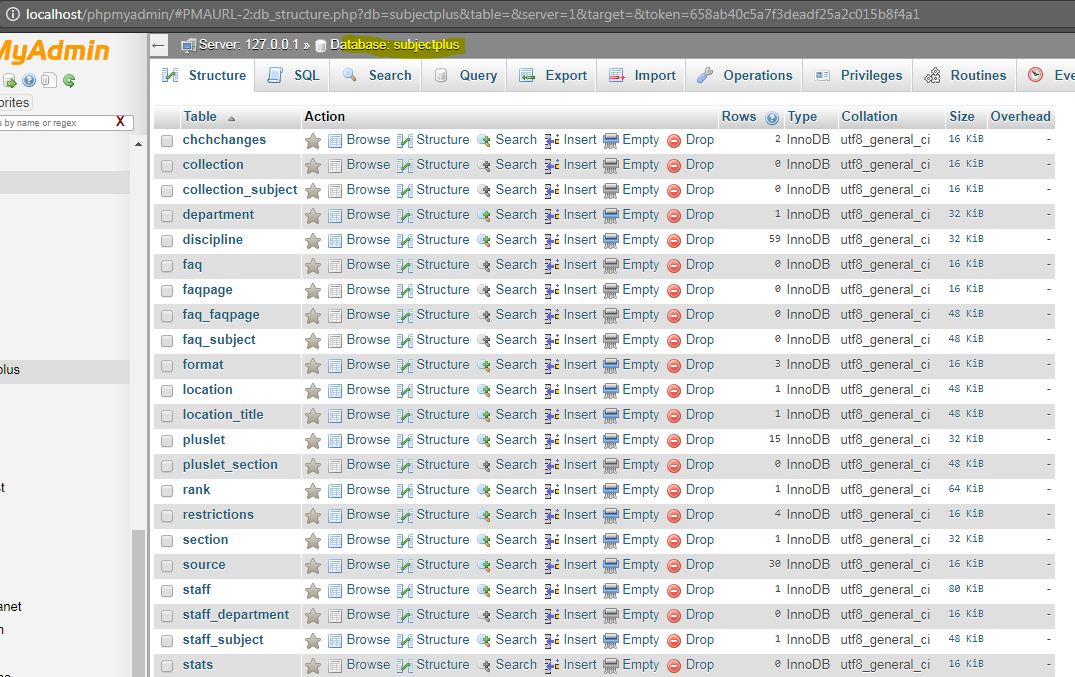
After installation process, you can cross check the subjectplus database, through phpmyadmin interface, there are default 30 tables created as shown below
Into Next post you will learn the basic customization and features control panel to manage subject guide.