Dear All,
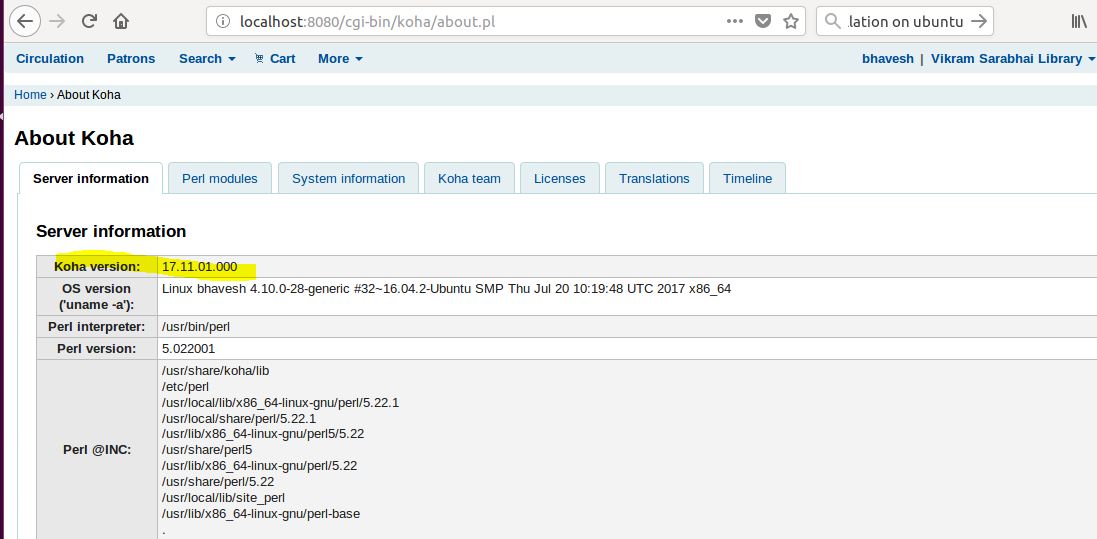
Today we will learn how to install Koha (version 17.11) (LMS) into Ubuntu 16,04 LTS.
There is official installation guide provided on koha community website
URL: https://wiki.koha-community.org/wiki/Koha_on_ubuntu_-_packages
Into this Installation guide we will follow that installation process and see how to install Koha on Ubuntu
Step: 1 Add a Koha Community Repository
echo deb http://debian.koha-community.org/koha stable main | sudo tee /etc/apt/sources.list.d/koha.list

Step: 2 Add the key in gpg.asc to your APT trusted keys
wget -O- http://debian.koha-community.org/koha/gpg.asc | sudo apt-key add –

Step: 3 update, upgrade and clean ubuntu
sudo apt-get update
sudo apt-get upgrade
sudo apt-get clean


Step: 4 Download and install the latest Koha release
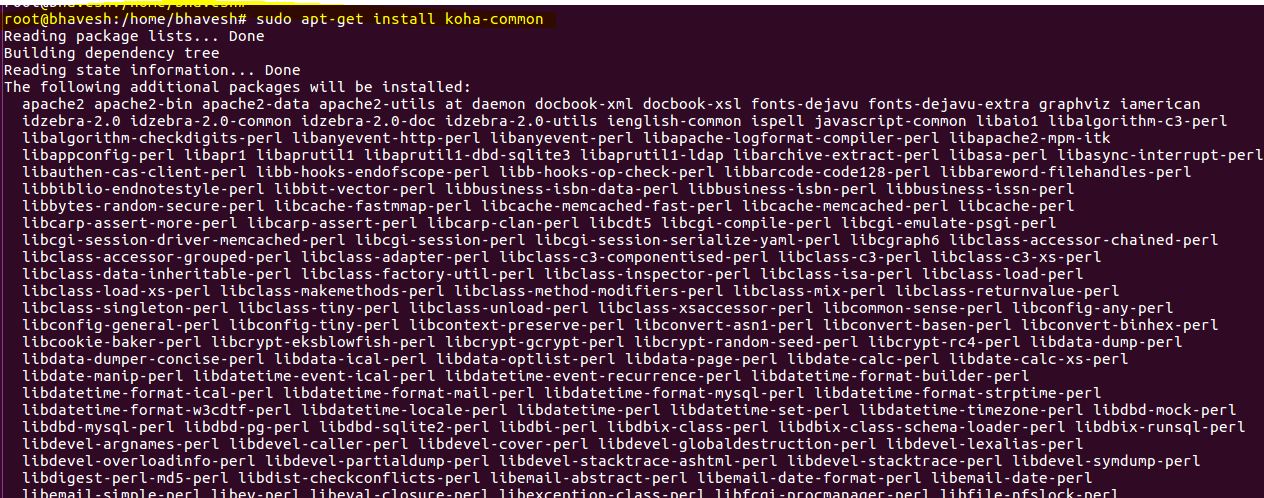
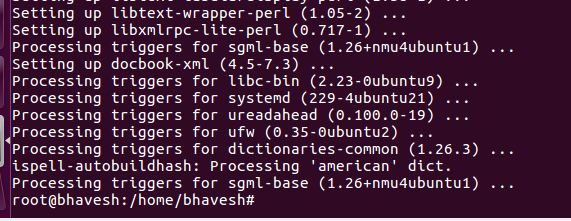
sudo apt-get install koha-common

Step: 5 Pre-Web Install Setup (Initial Configuration)
edit /etc/koha/koha-sites.conf with details about your site. You may need to create this file.
sudo nano /etc/koha/koha-sites.conf

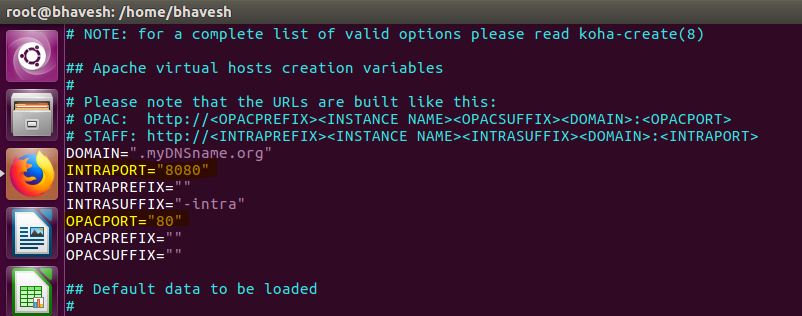
Into this file, update INTRAPORT to 8080 and OPACPORT to 80
Step: 6 install MariaDB server
sudo apt-get install mariadb-server

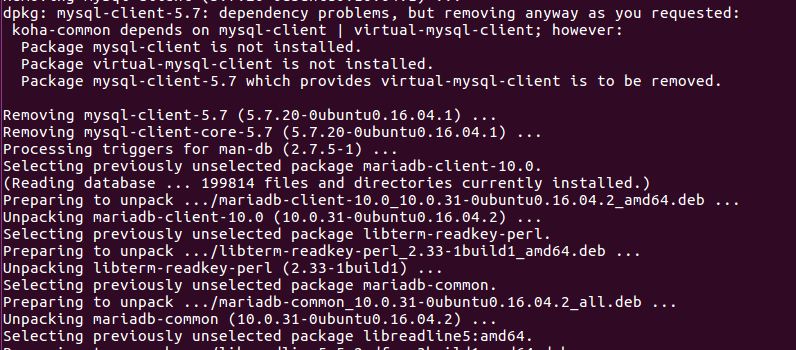
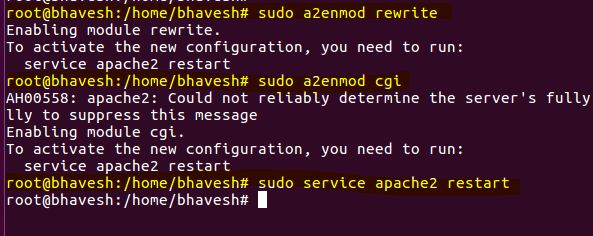
Step: 6 Apache modules
sudo a2enmod rewrite
sudo a2enmod cgi
sudo service apache2 restart
Step: 7 Create database
sudo koha-create –create-db library

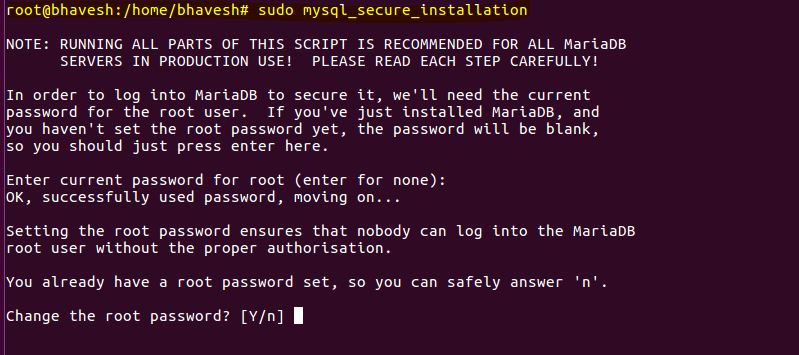
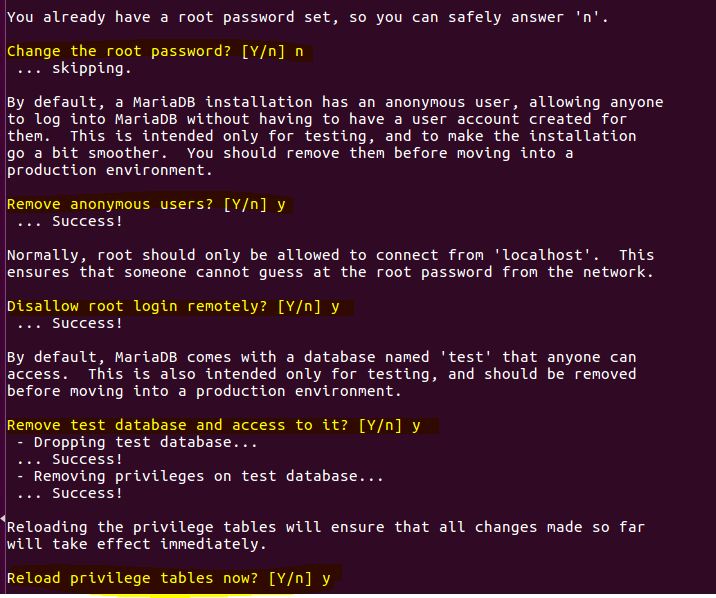
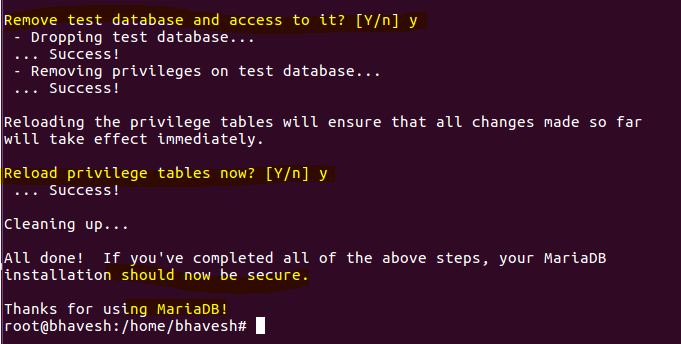
Step: 8 Database Security
sudo mysql_secure_installation
Step: 9 Configuring Apache (Setup Default Ports)
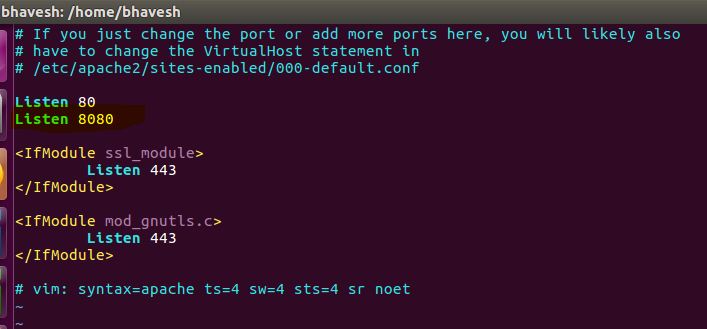
You need to add port 8080 and 80
sudo vim /etc/apache2/ports.conf
![]()
Step: 10 Enable Modules and Site
sudo a2enmod deflate
sudo a2ensite library
sudo service apache2 restart

Step: 11 Hosts File changes
sudo vim /etc/hosts
Step: 12 see the web installation password

After this step you have to do Web Installation through any browser.
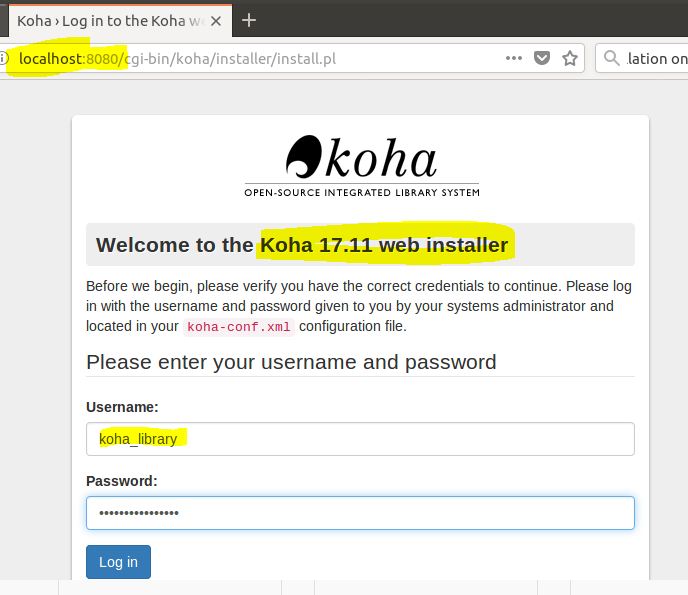
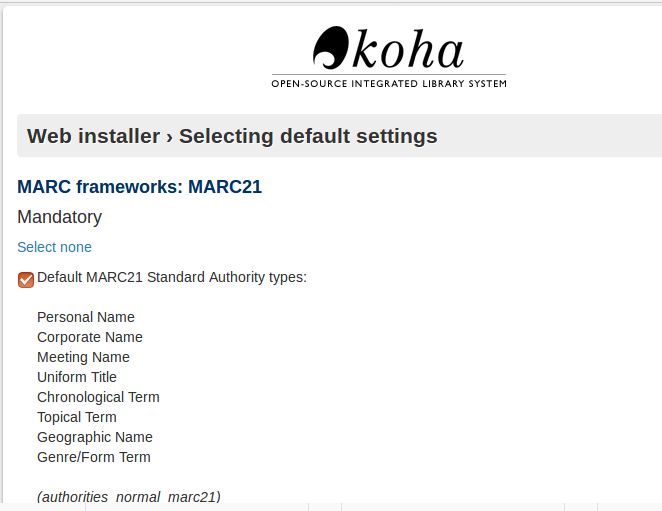
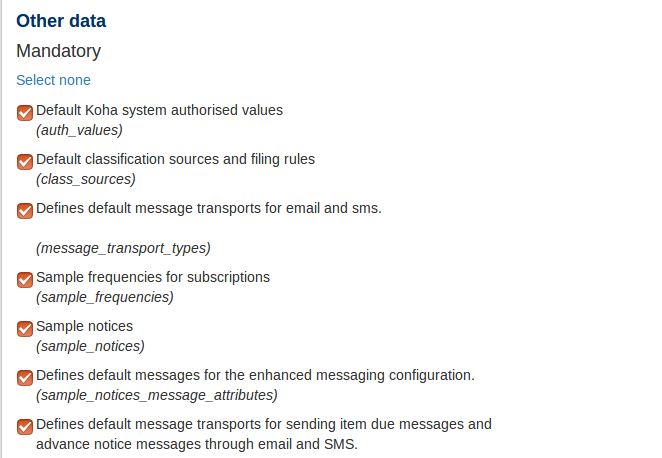
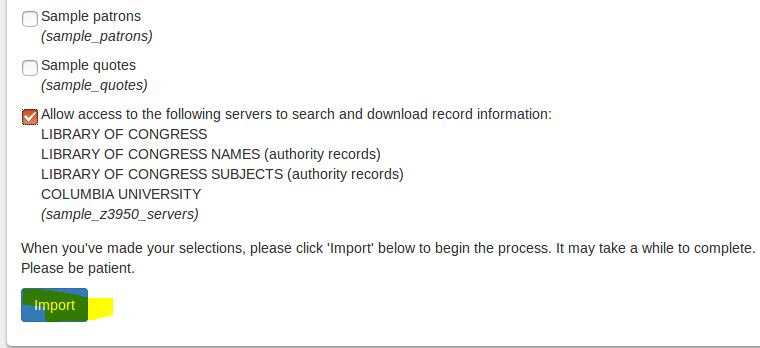
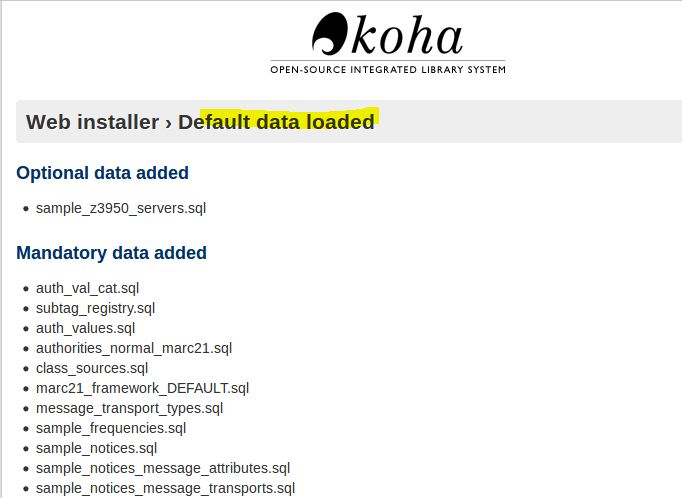
Step: 13 Web Installer process (go through screenshot)
Open Firefox browser and type localhost:8080
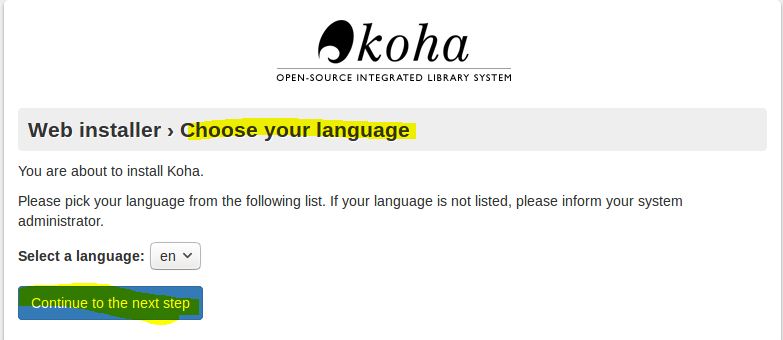
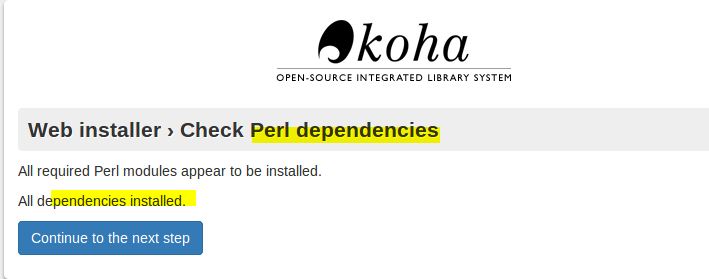
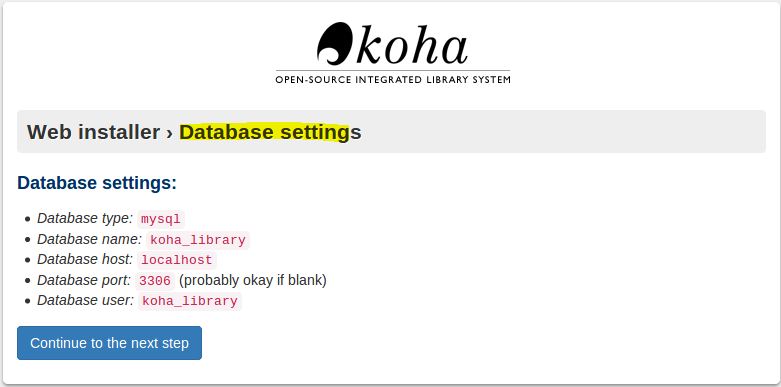
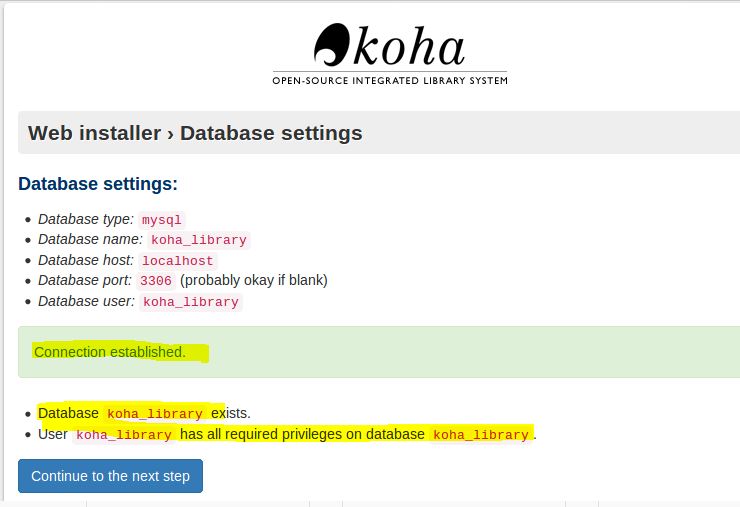
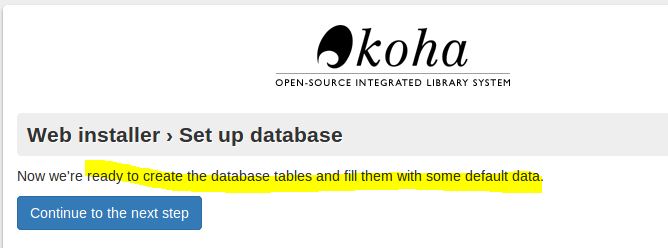
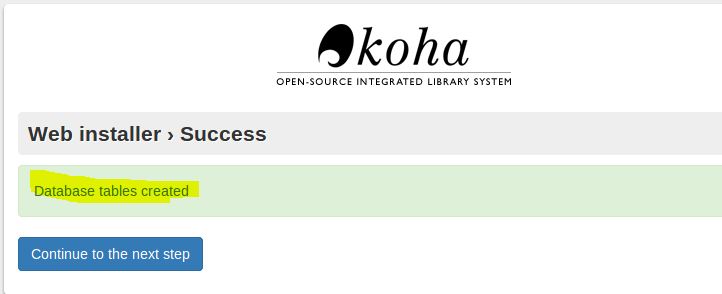
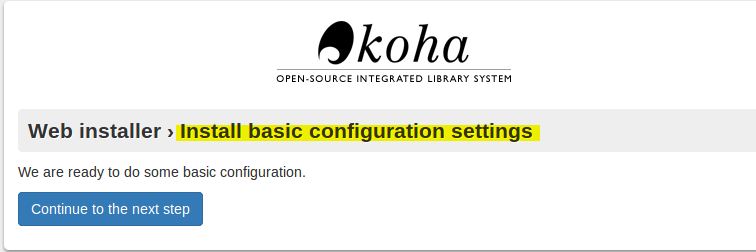
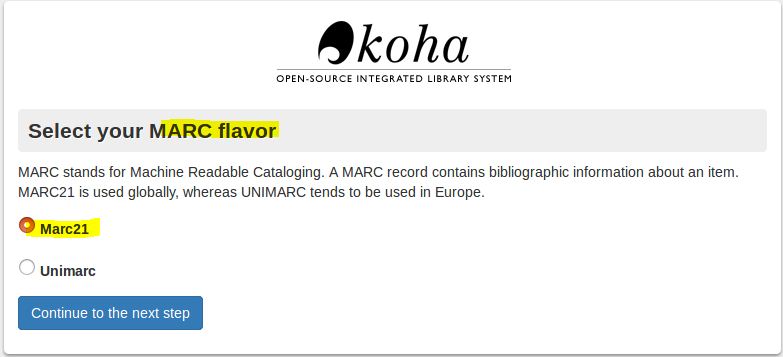
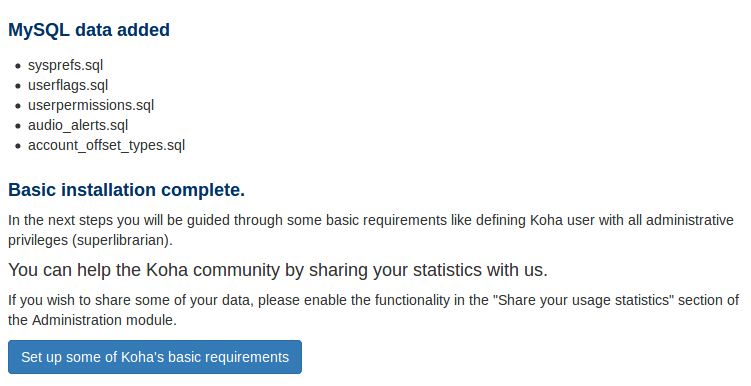
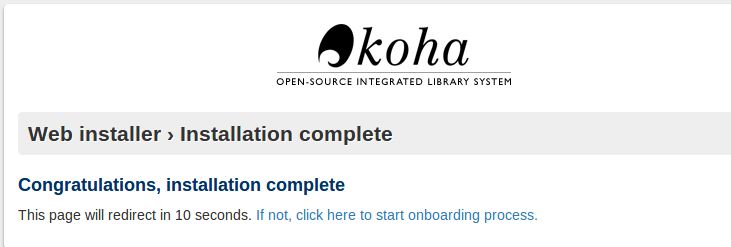
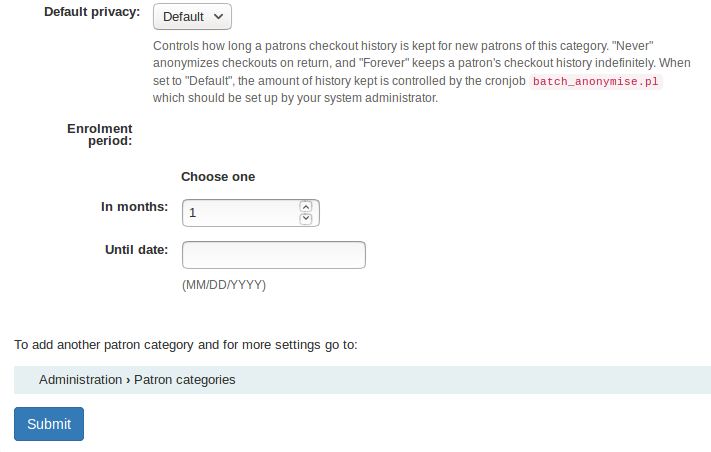
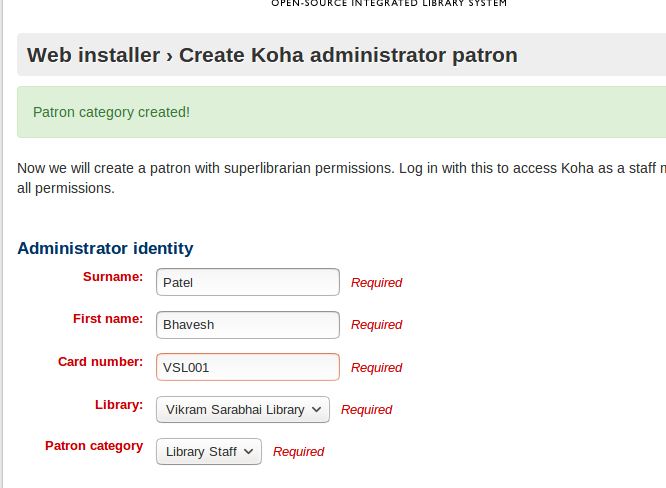
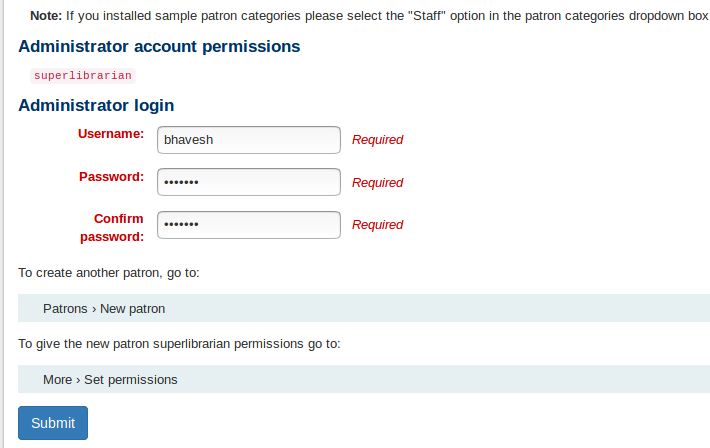
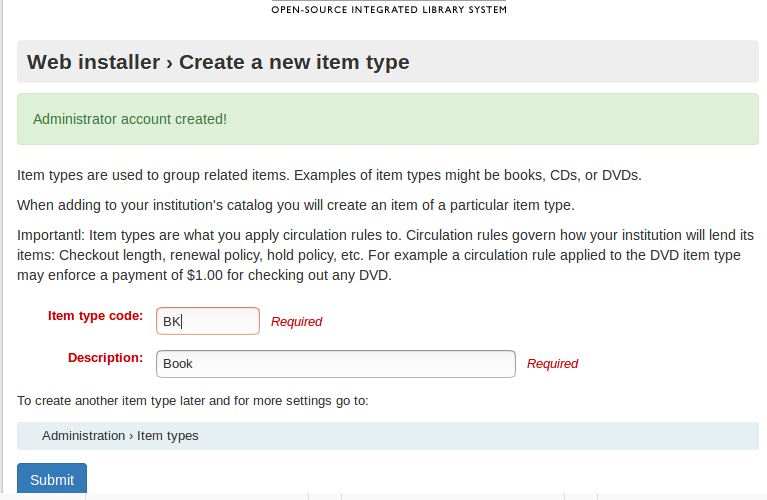
Step: 14 Creating library, set default rule, patron category etc..
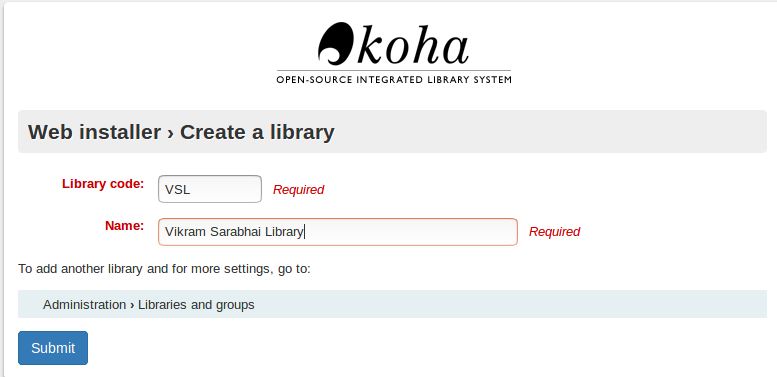
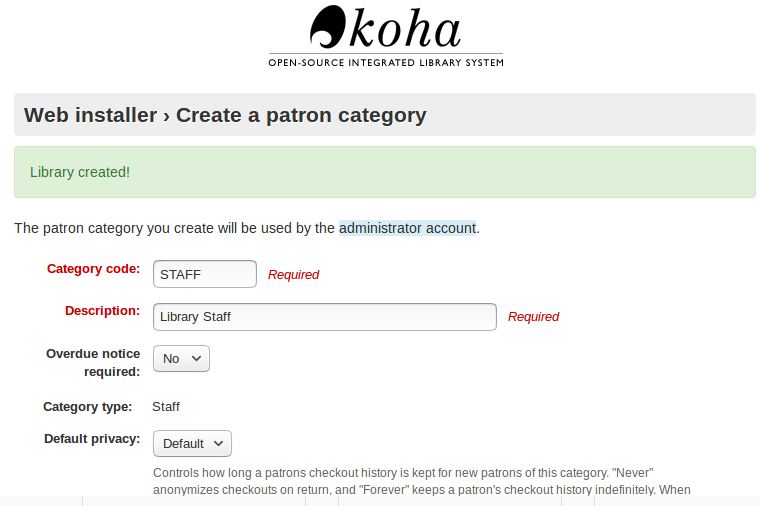
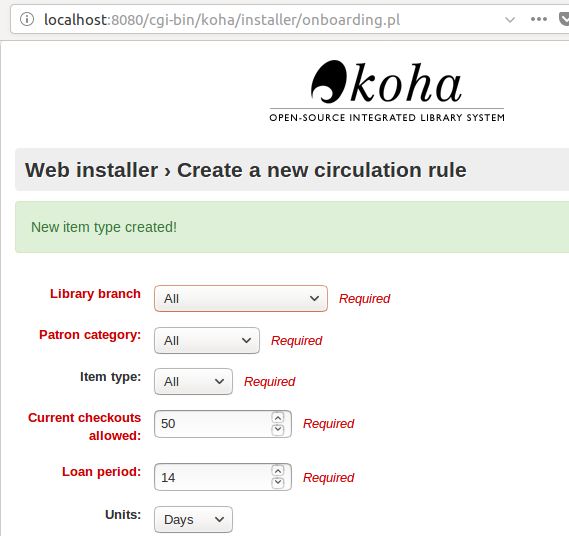
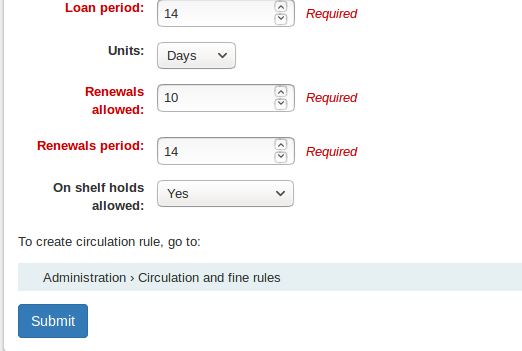
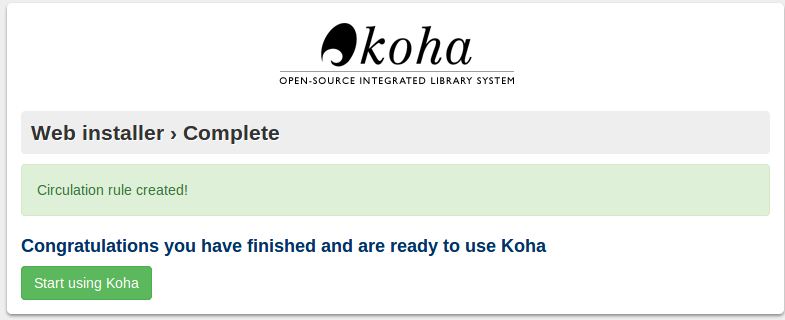
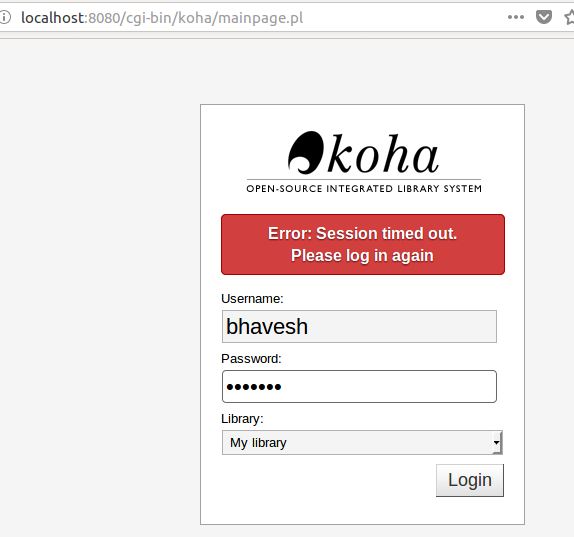
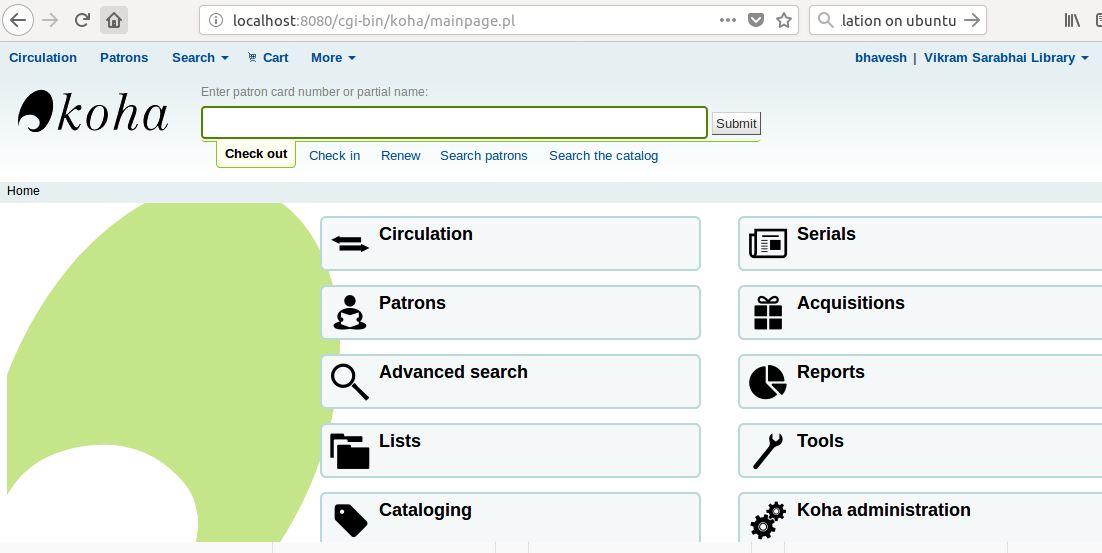
Step: 15 : login to Koha Staff Interface
Go to browser: localhost:8080 now login with admin account that recently created

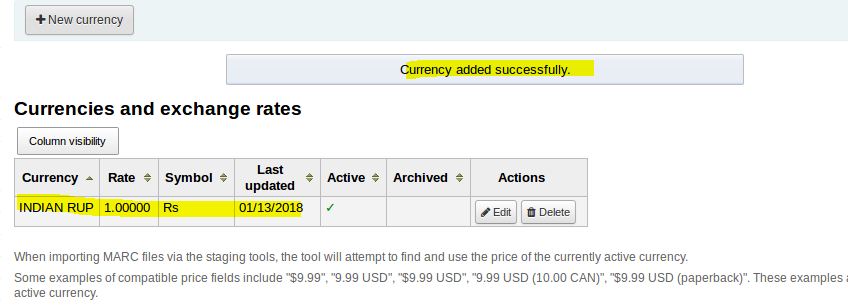
Step: 16: Set OPAC Interface
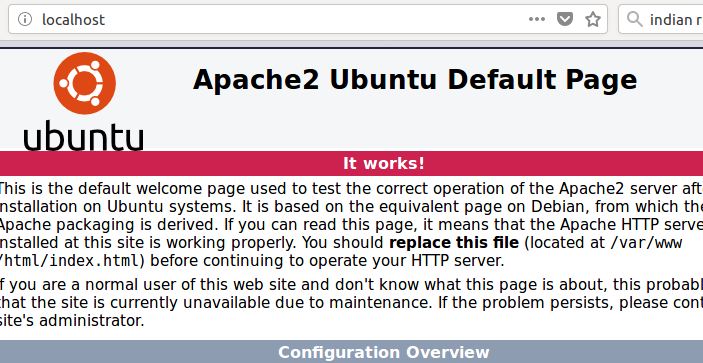
sudo a2dissite 000-default.conf
sudo a2ensite library
sudo service apache2 restart

Now reload the page localhost on browser it will load OPAC Interface

